
How to Invite a User to a Project
If you have a member account in GreenSpace, your role does not allow access to these options. Please contact your manager or admin for assistance.
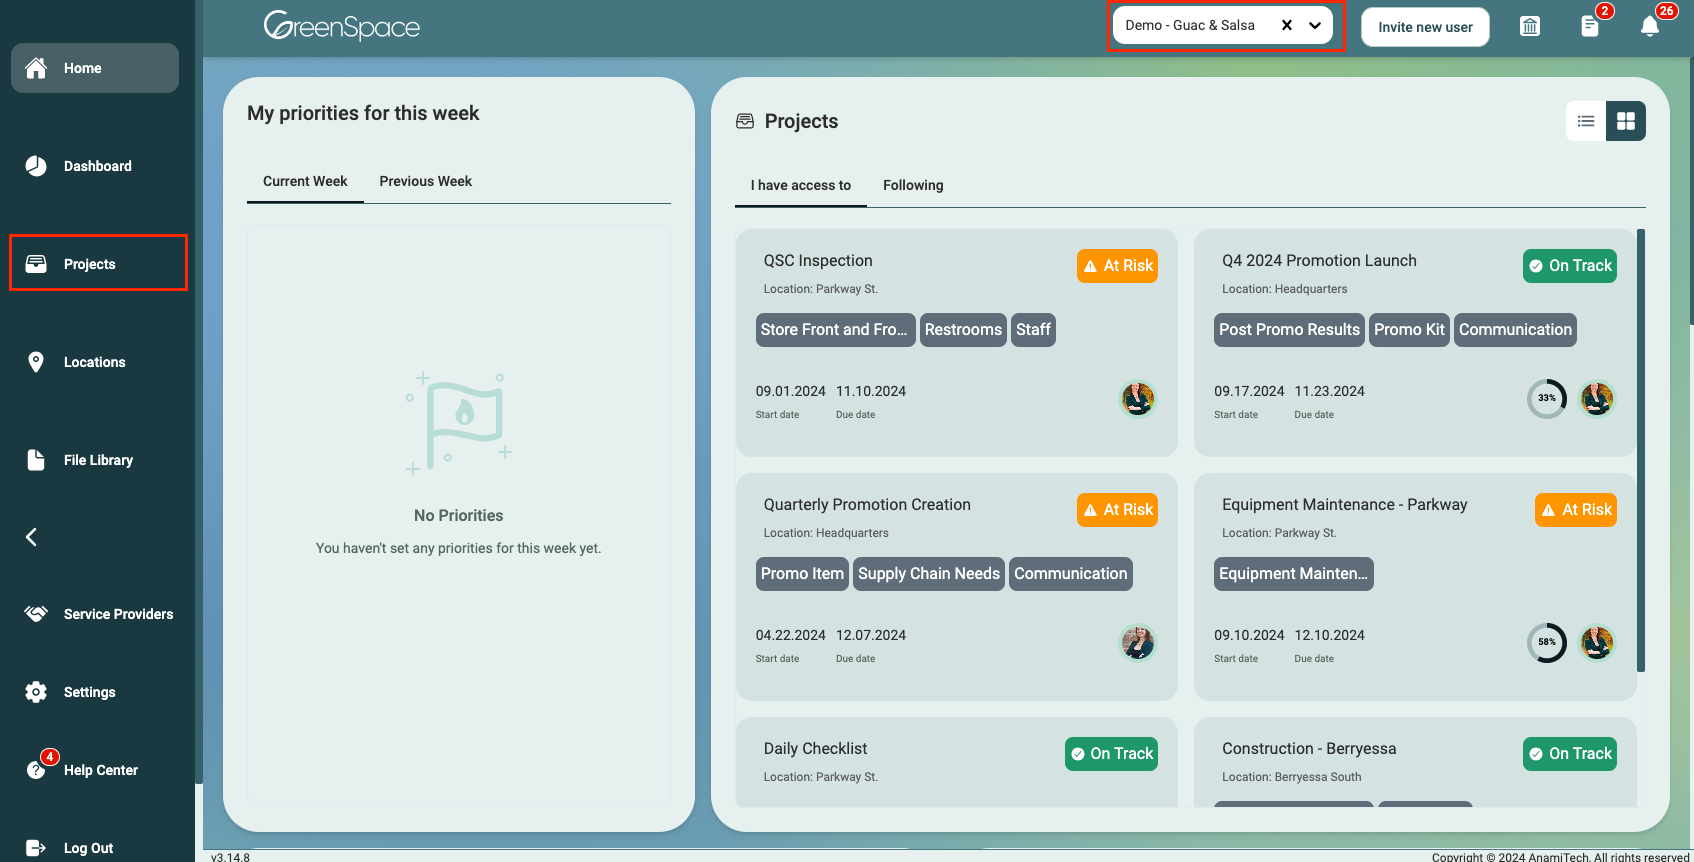
Choose the relevant company where the project is located from the drop-down menu located in the bar at the top of the screen. Navigate to the left side of the screen and click on "Projects" to reach the Project Overview page.
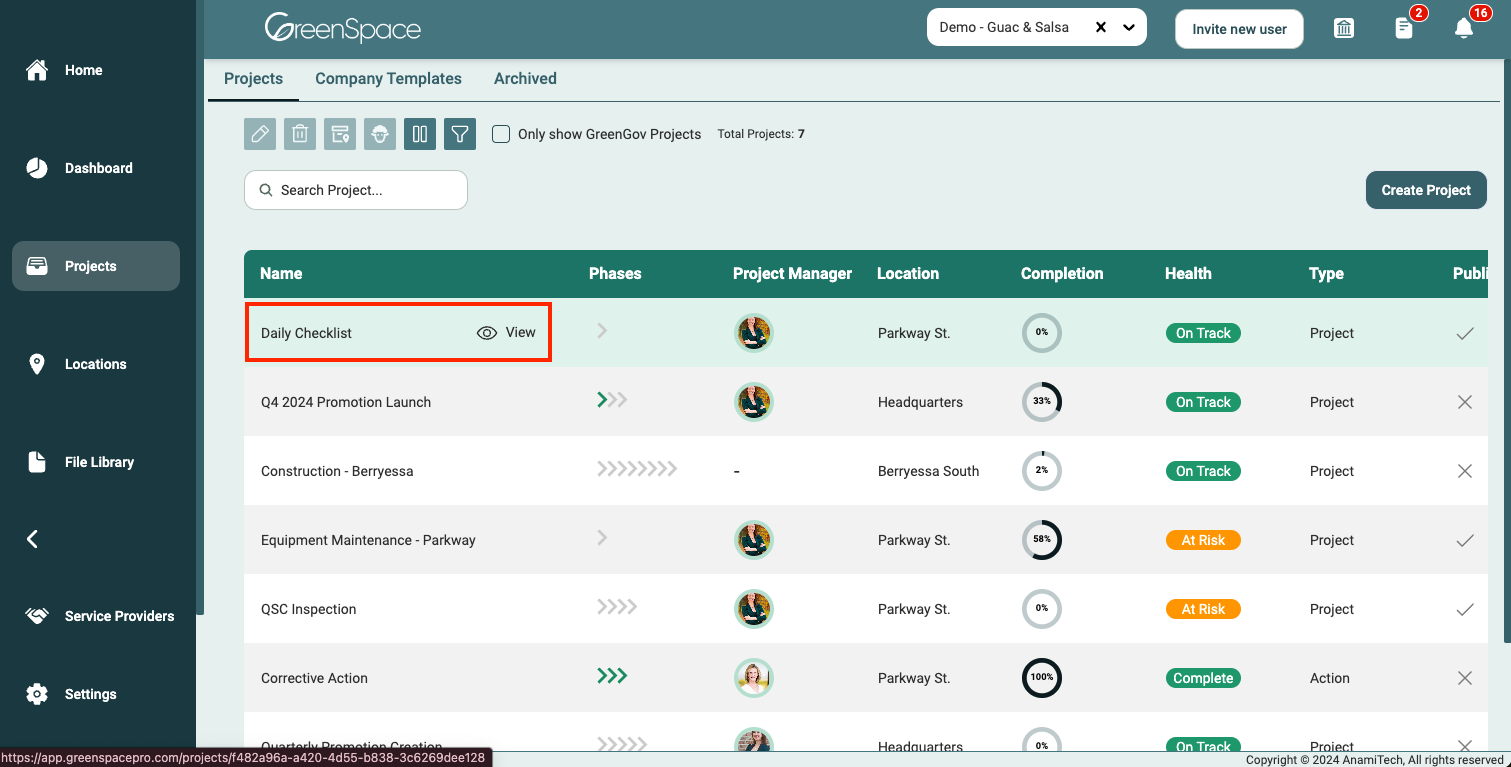
Hover over the project to which you want to grant access to the user and click the "view" eye icon to open the project.
Assign Existing User
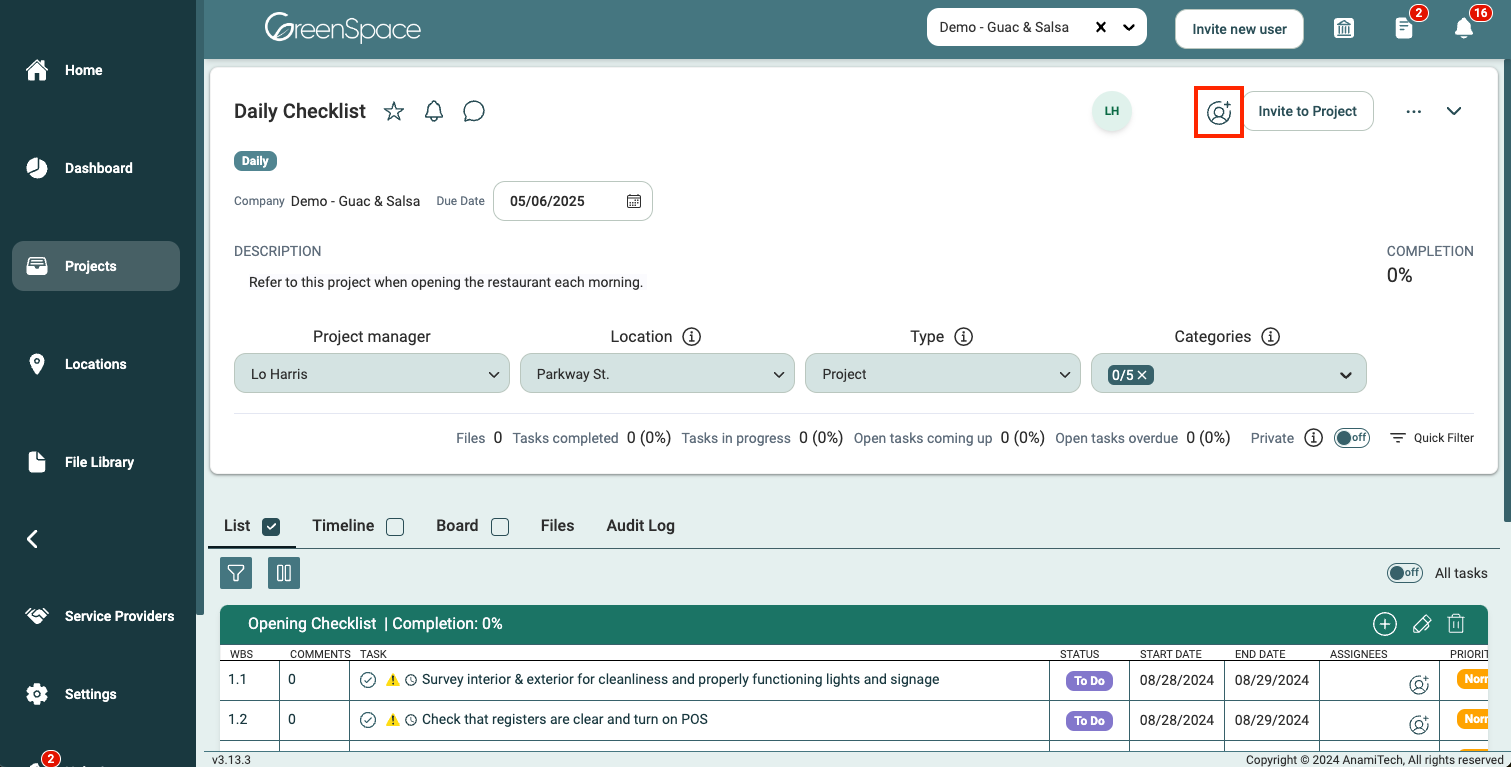
If the user is already has access to your company in GreenSpace, click the "Assign to a project" button (circled person with plus sign icon).
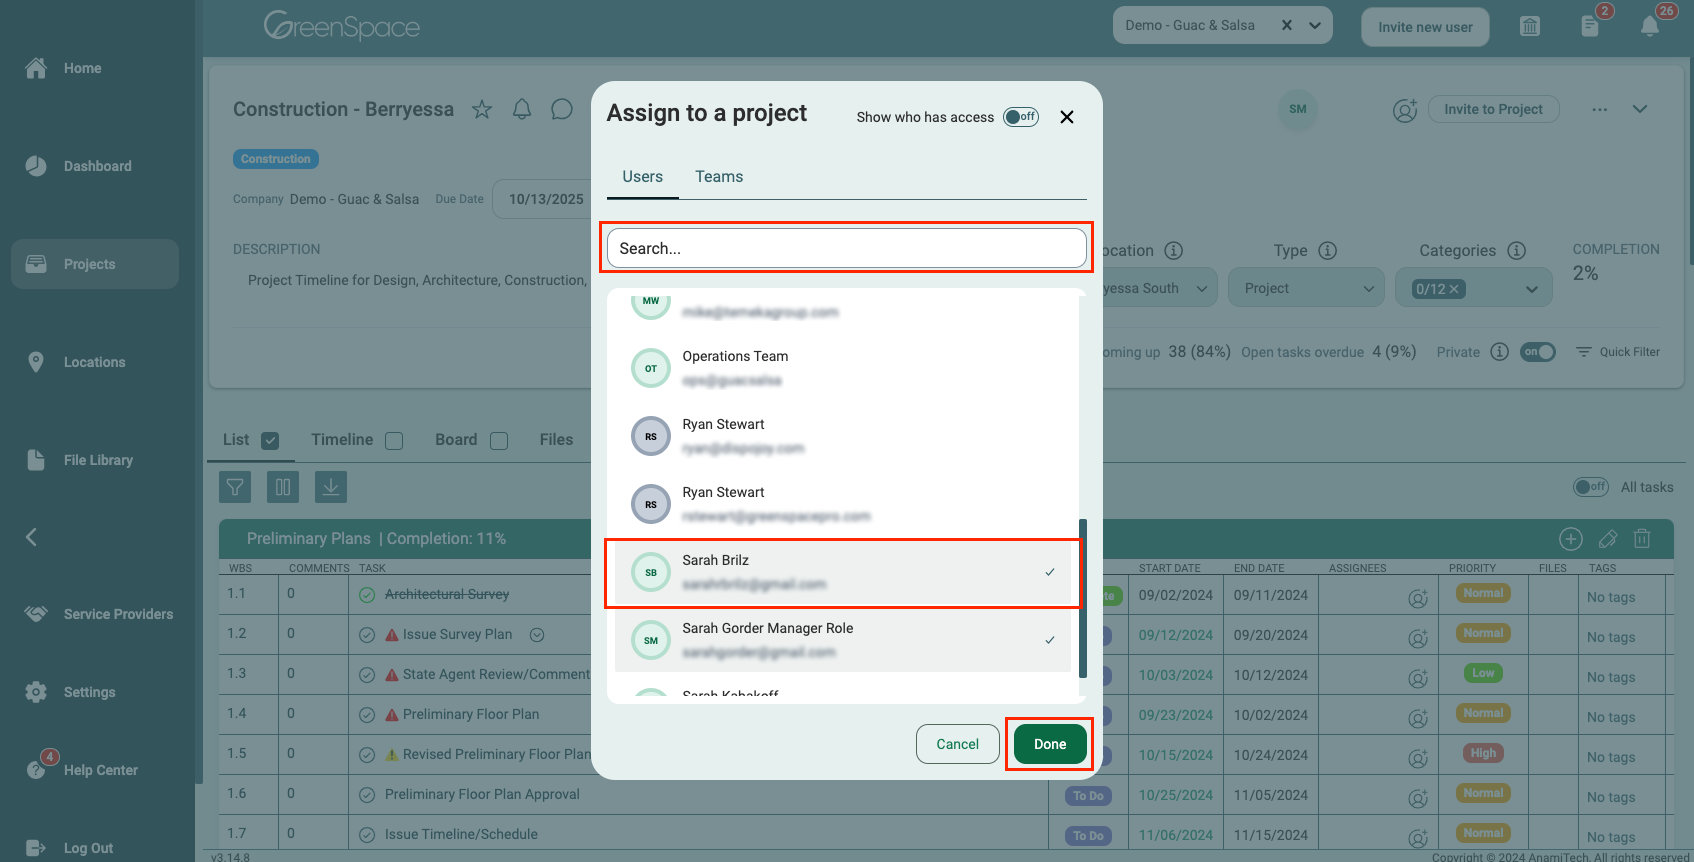
Choose the user(s) from the list to assign to the project. You can utilize the search bar to narrow down your list. Confirm the selection by clicking "Done".
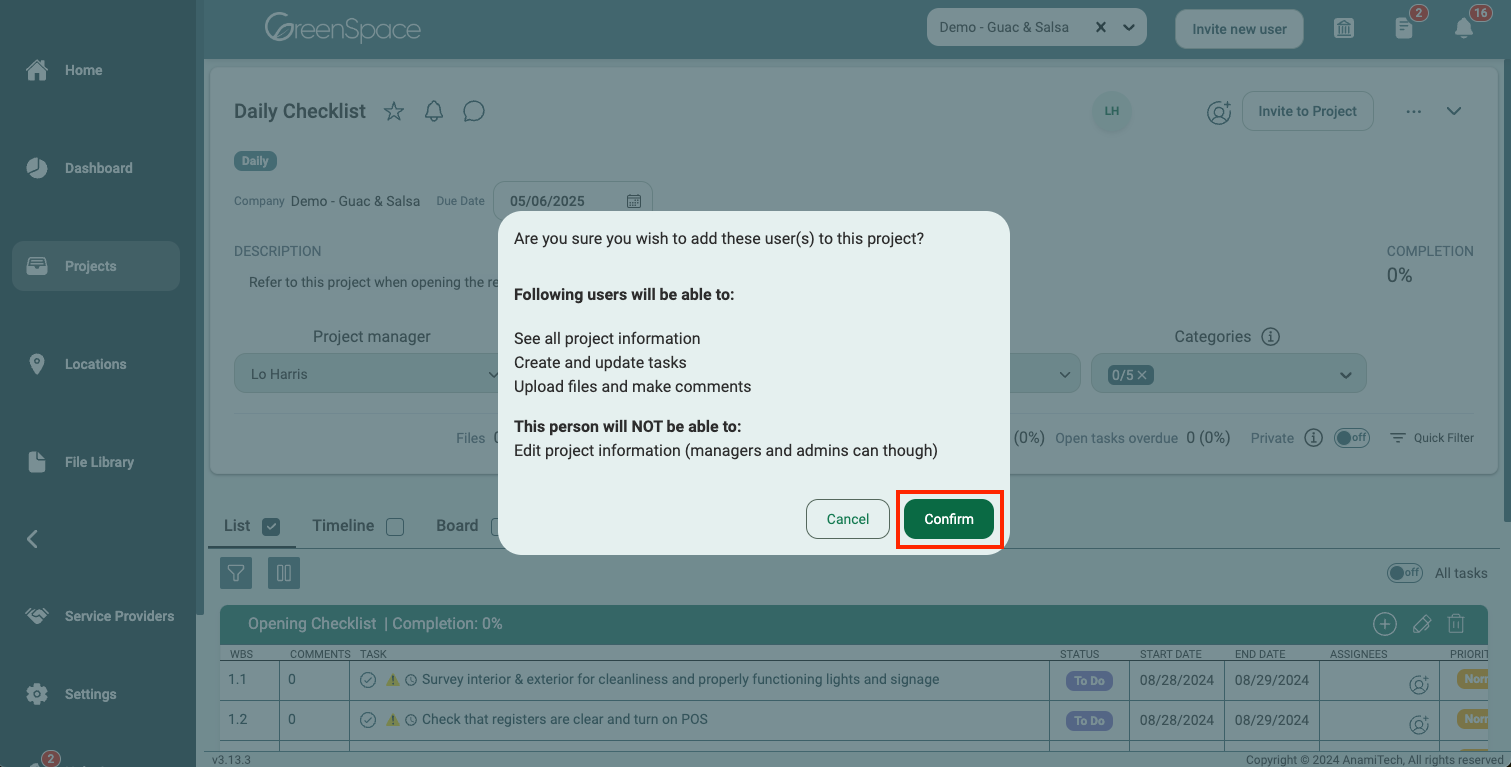
Please review the information and click "Confirm" if you wish to continue granting access to this/these user(s).
Inviting New Users
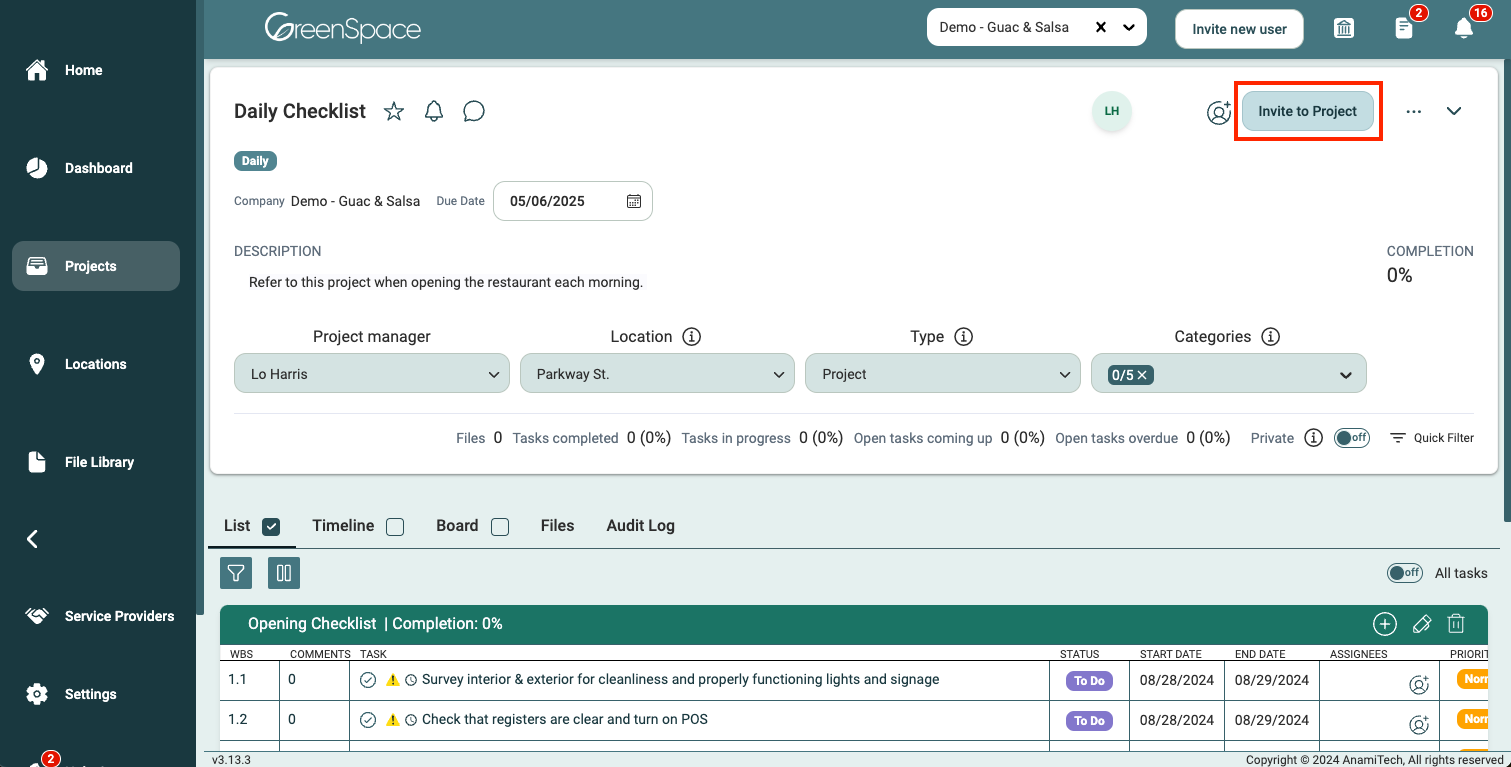
If the user is not a member of your company in GreenSpace, click the "Invite to Project" button.
You can either fill out the user's access now under the "Advanced Access" tab and create a user, or choose the "Standard Access" tab to provide the essential information for quick access to invite a user, with the option to adjust their access settings later.
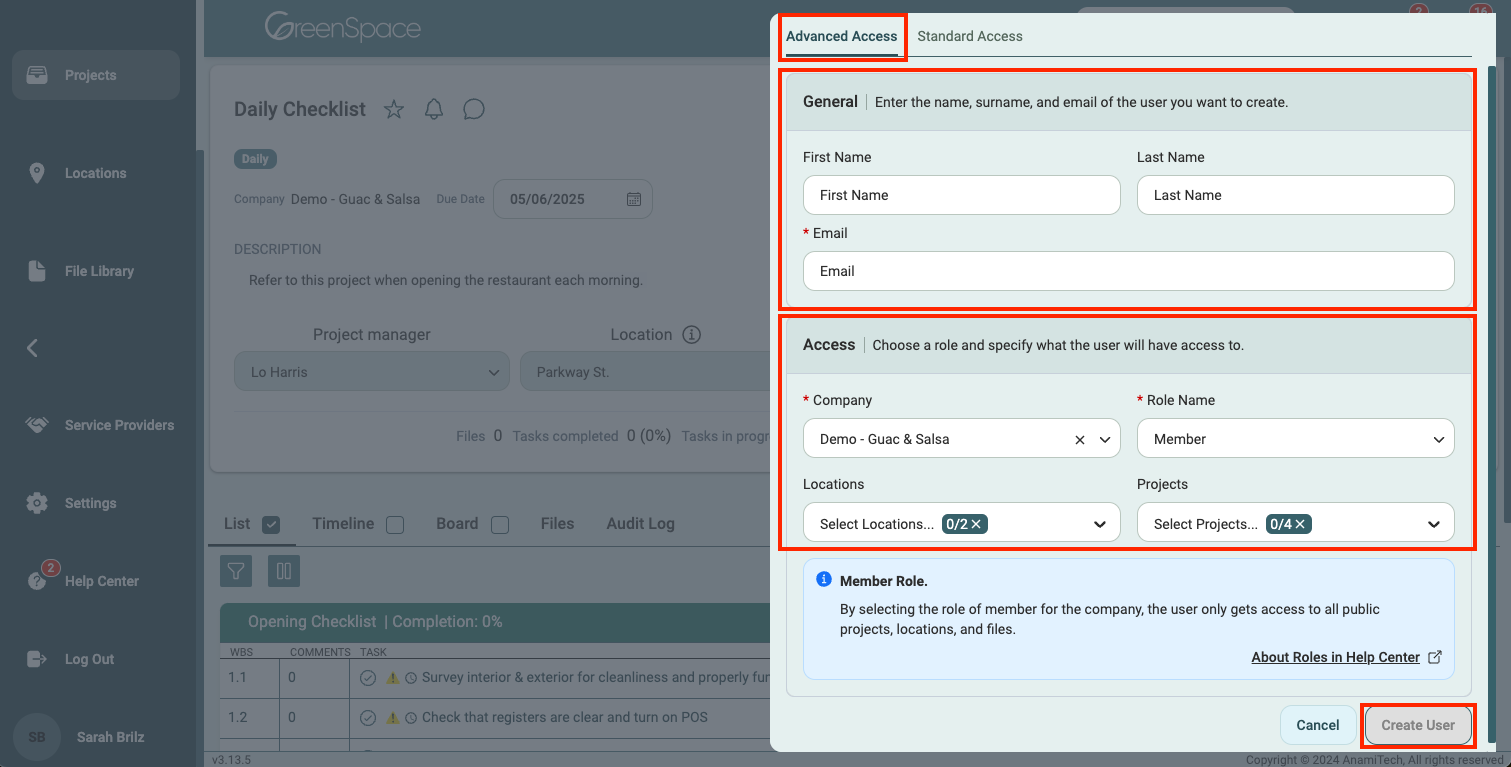
Advanced Access (Create User) - Admin Only
- General: Enter the first name, last name, and email of the user you want to create.
- Access: Choose a company and assign a role to specify what the user will have access to.
Note: Public locations and public projects will not appear in the dropdown lists.
Role Access Overview:
- Administrator: The user gets access to all private and public locations, projects, and files within the company. The user will also have full access to all information about your company.
- Manager: The user gets access to all private and public projects, only to public locations, and access to files in those projects and locations to which the user will have access.
- Member: The user only gets access to all public projects, locations, and files.
Once you are finished filling out the required and desired information, click "Create User". The user will need to follow the instructions in the email invitation they will receive shortly after creating the user.
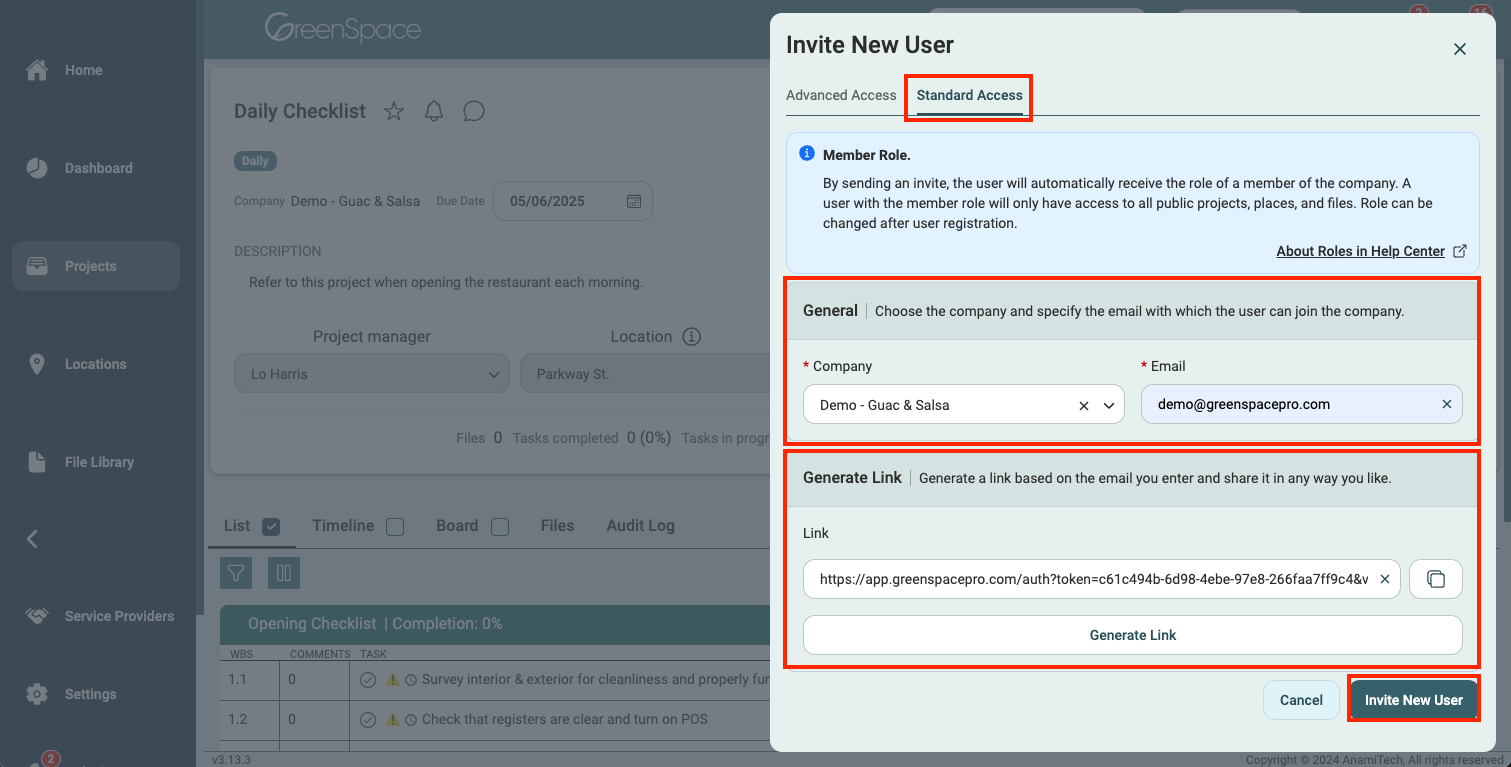
Standard Access (Invite a User)
- General: Choose the company and specify the email with which the user can join the company.
- Generate Link (Optional): Generate a link to share via your preferred messaging app (TEAMs, Slack, SMS, etc.).
Standard Access will automatically assign the Member role to the new users. Members have access to all public projects, locations, and files. Access can be adjusted by an admin in the Company Settings.
Once you are finished filling out the required and desired information, click "Invite New User". The user will need to follow the instructions in the email invitation they will receive shortly after inviting the user.
If the user has an existing GreenSpace account, they'll be directed to the log-in page upon clicking the button in the email notification. If the user doesn't have an account in GreenSpace, they will be directed to the account creation page, create their account, and then access the assigned project.
Congratulations! You've successfully granted access to the project in GreenSpace. Your new user is now equipped to efficiently manage their projects within the platform. Should you encounter any issues or need further assistance, our support team is here to help.
You're all set to dive into managing your projects effectively on GreenSpace. Happy collaborating!