
How to Create a Location
Admin + Managers Only: If you have a member account in GreenSpace, your role does not allow access to these options. Please contact your admin or manager for assistance.
A Location is private by default until made public. Only admins and added users can view its details.
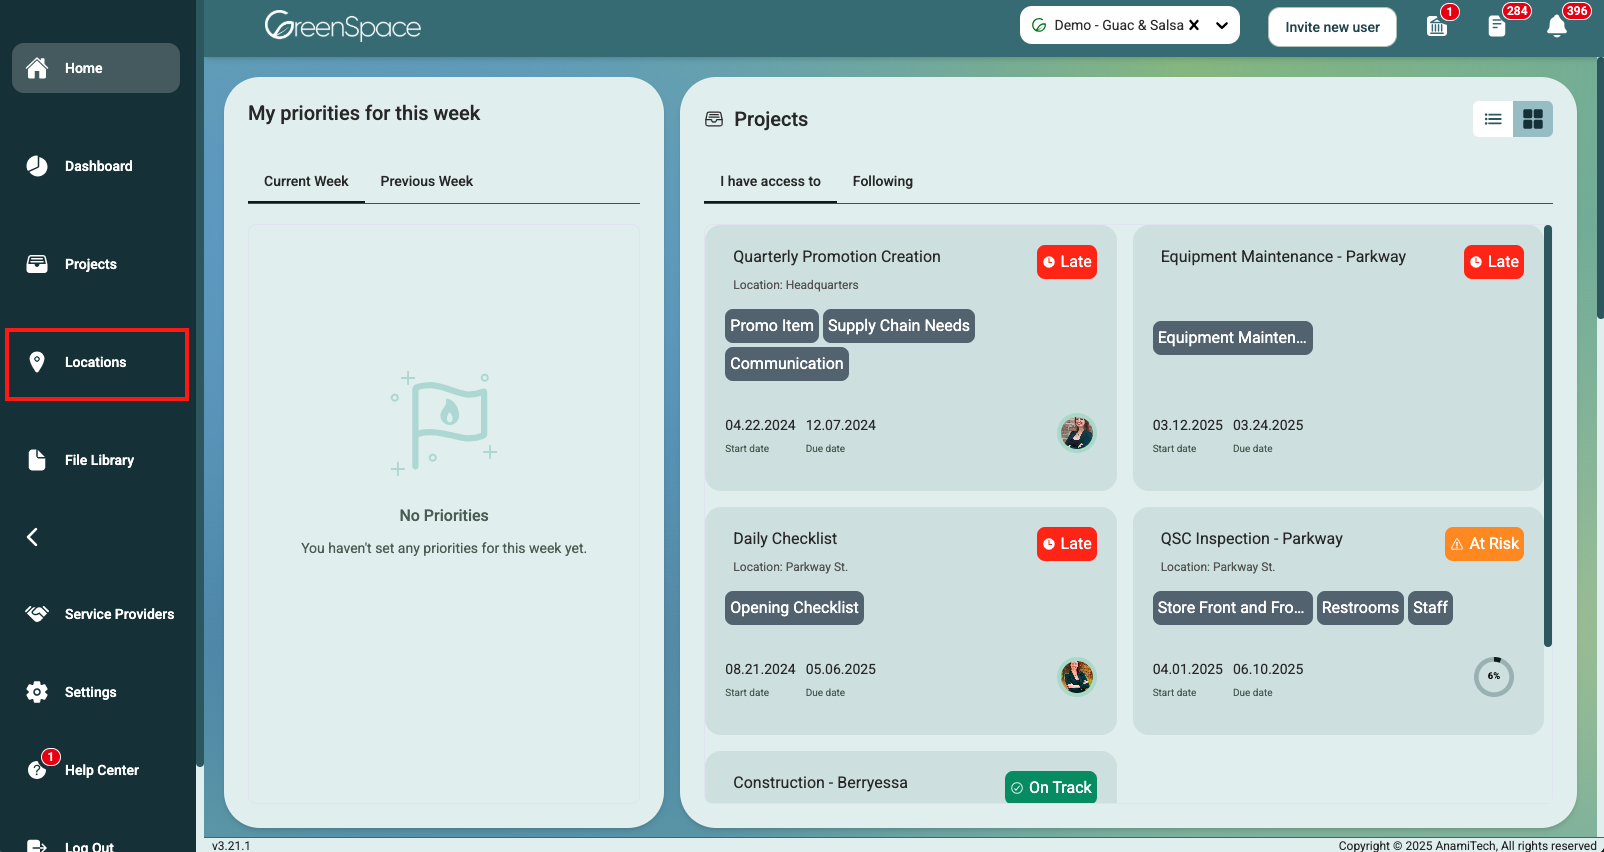
Click on the Locations option from the main menu on the left side of your screen.
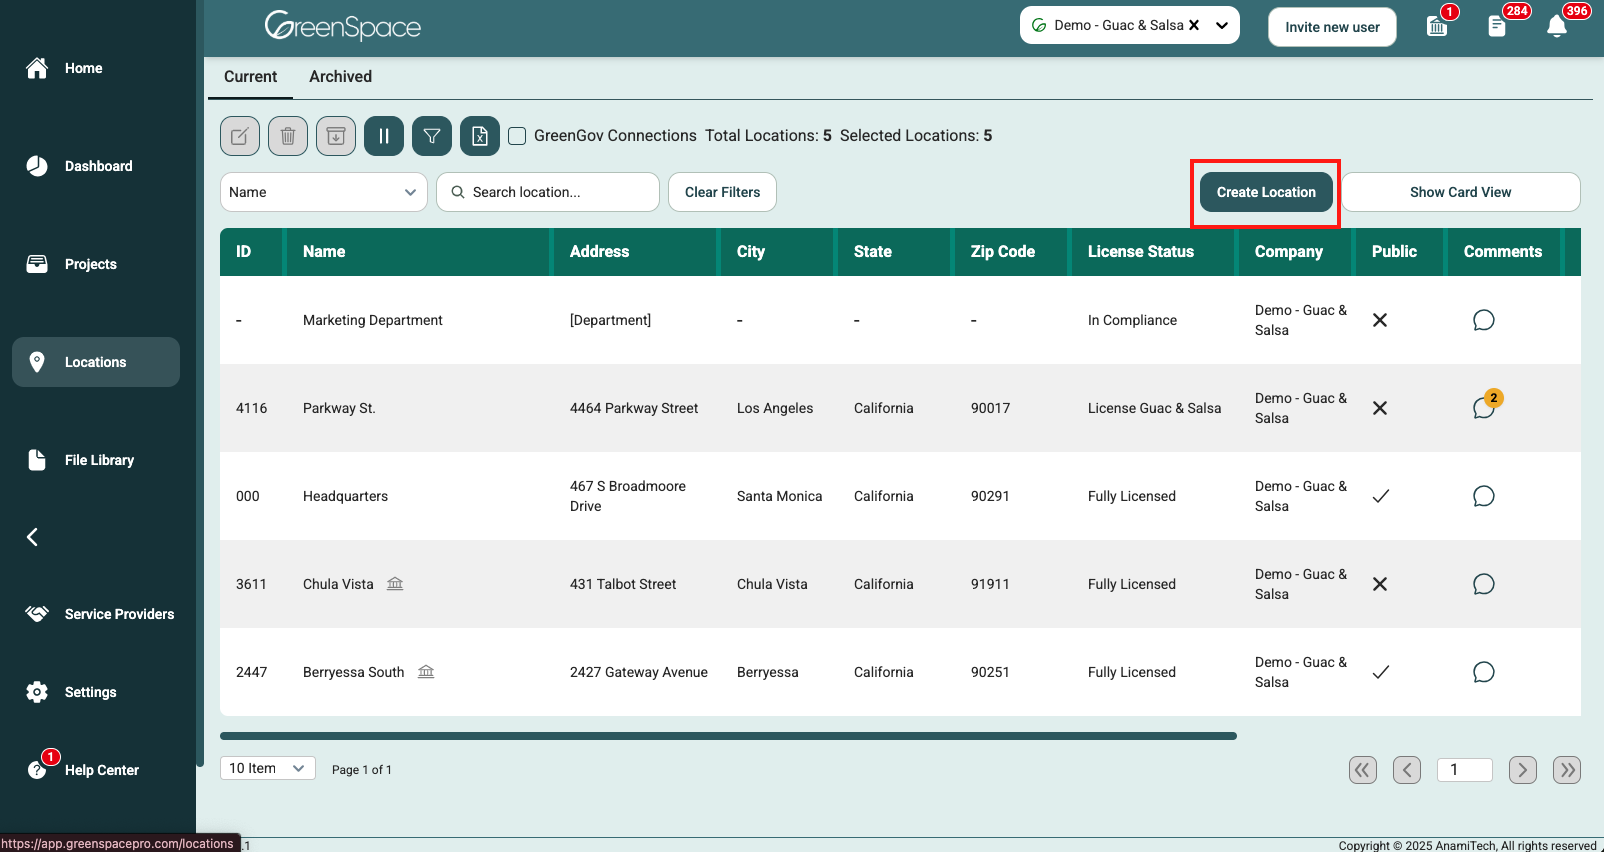
Click the "Create Location" button located in the top right-hand corner.
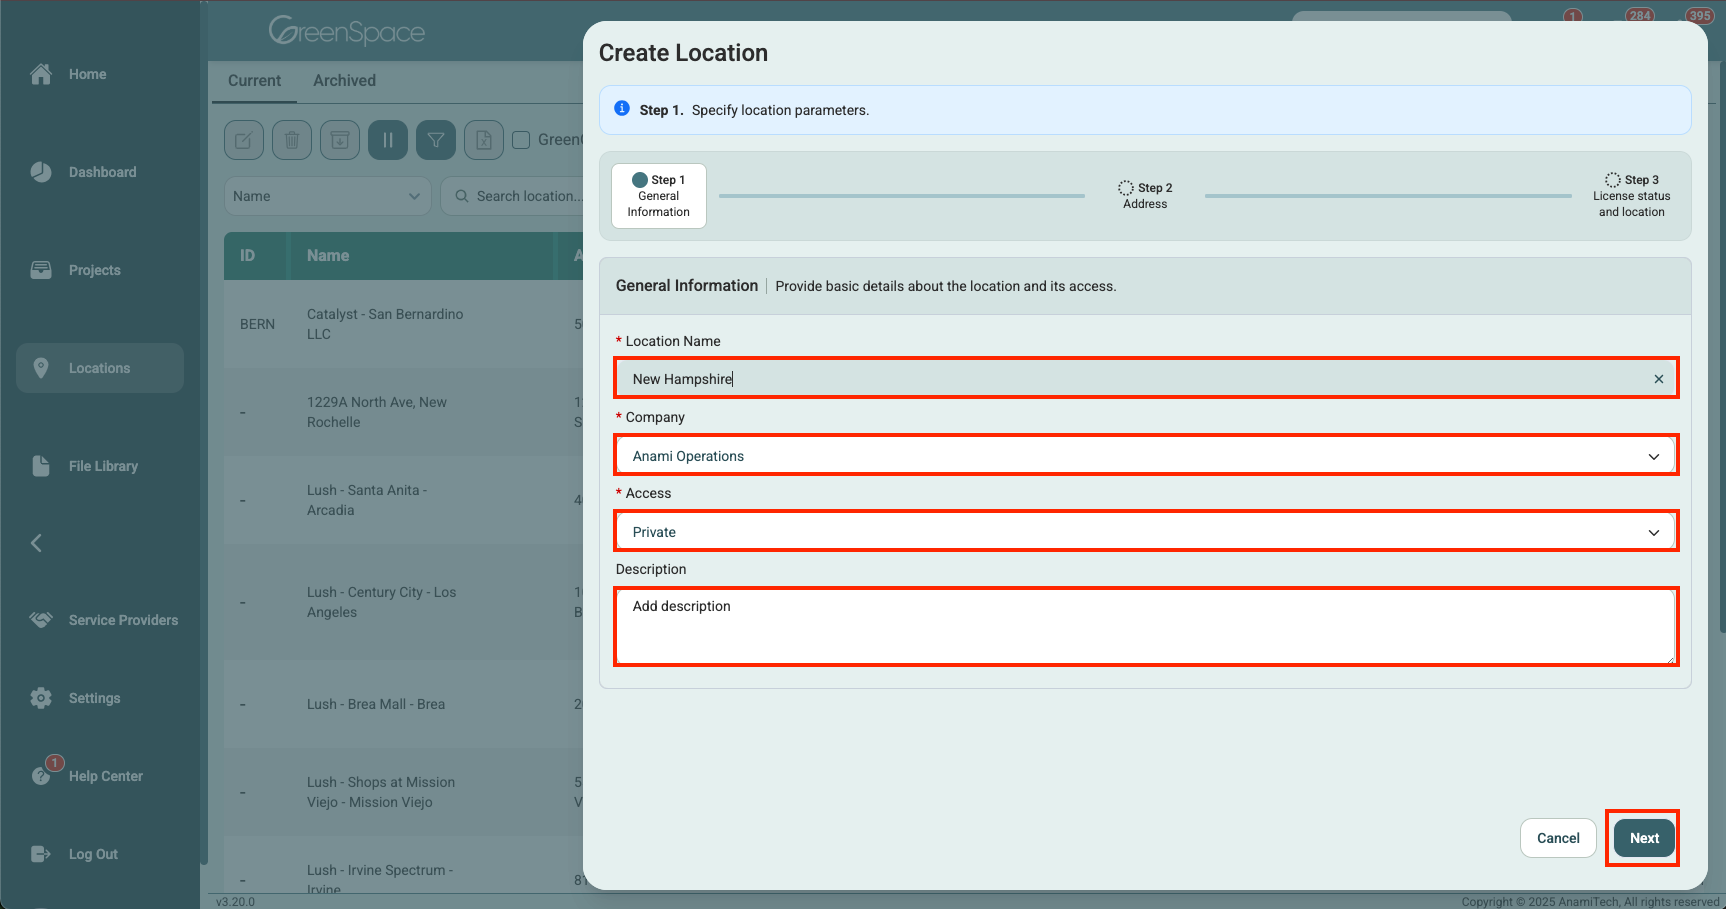
In the pop-up screen that will appear on the right, provide a name for your new location, select the desired company from the drop-down menu, choose whether this location will be private for only invited users to see or public for all users to access, and finally add a description for your team's clarity. Then click "Next".
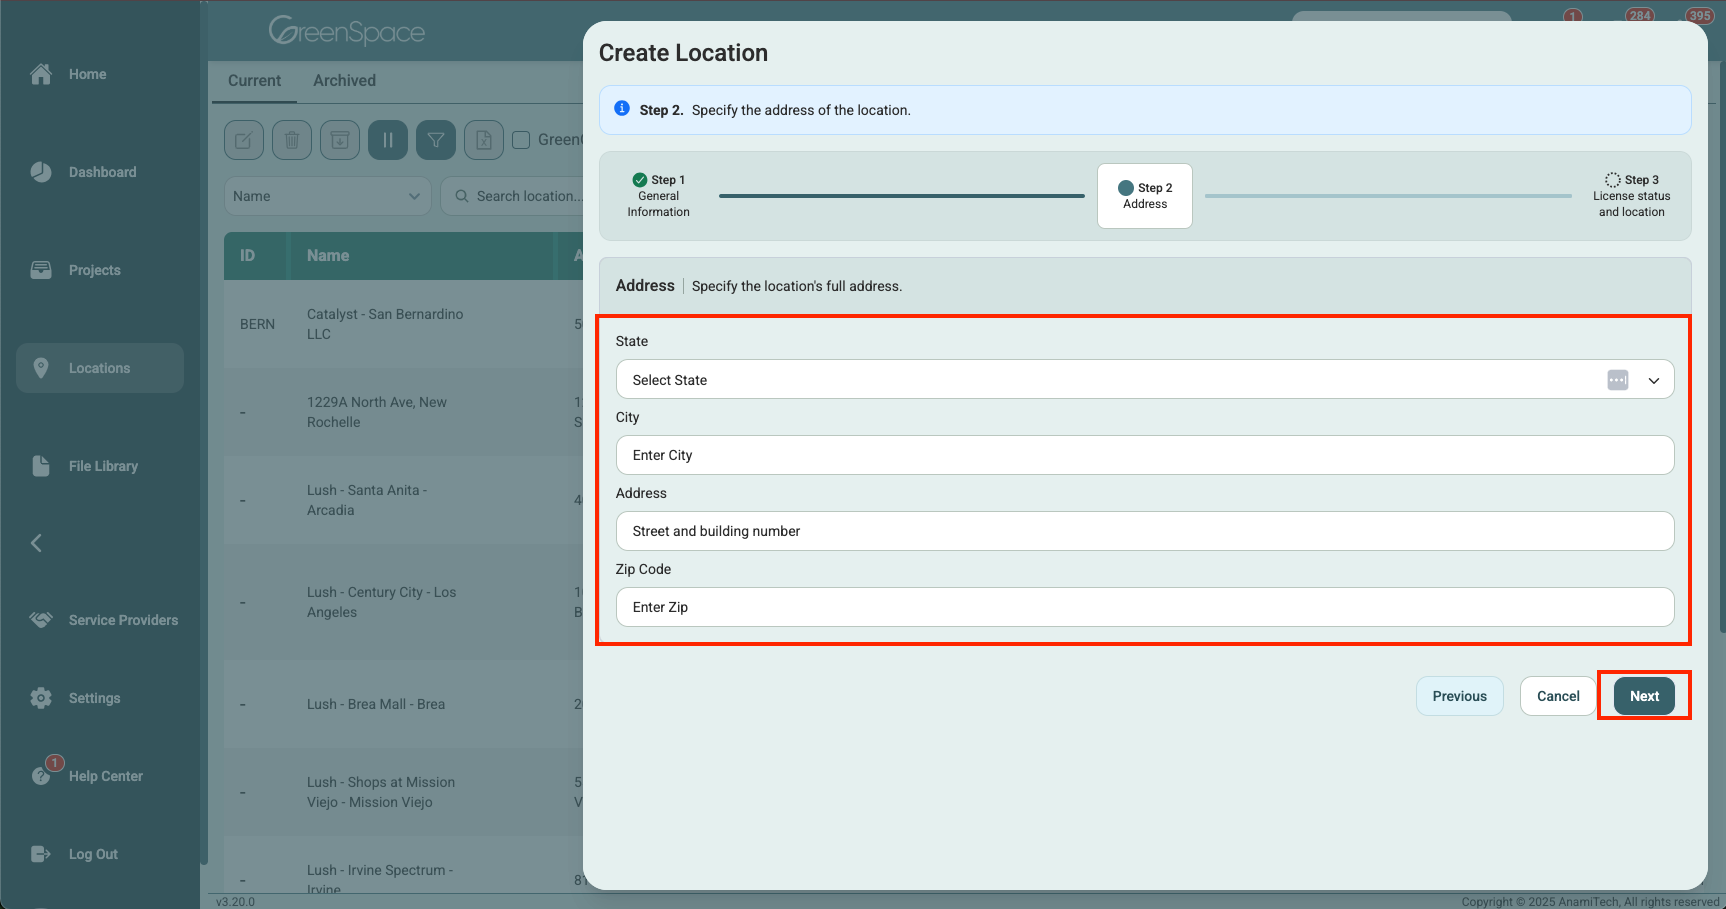
You may enter the location's address in the next step, or add it at a later time. Click "Next" to continue.
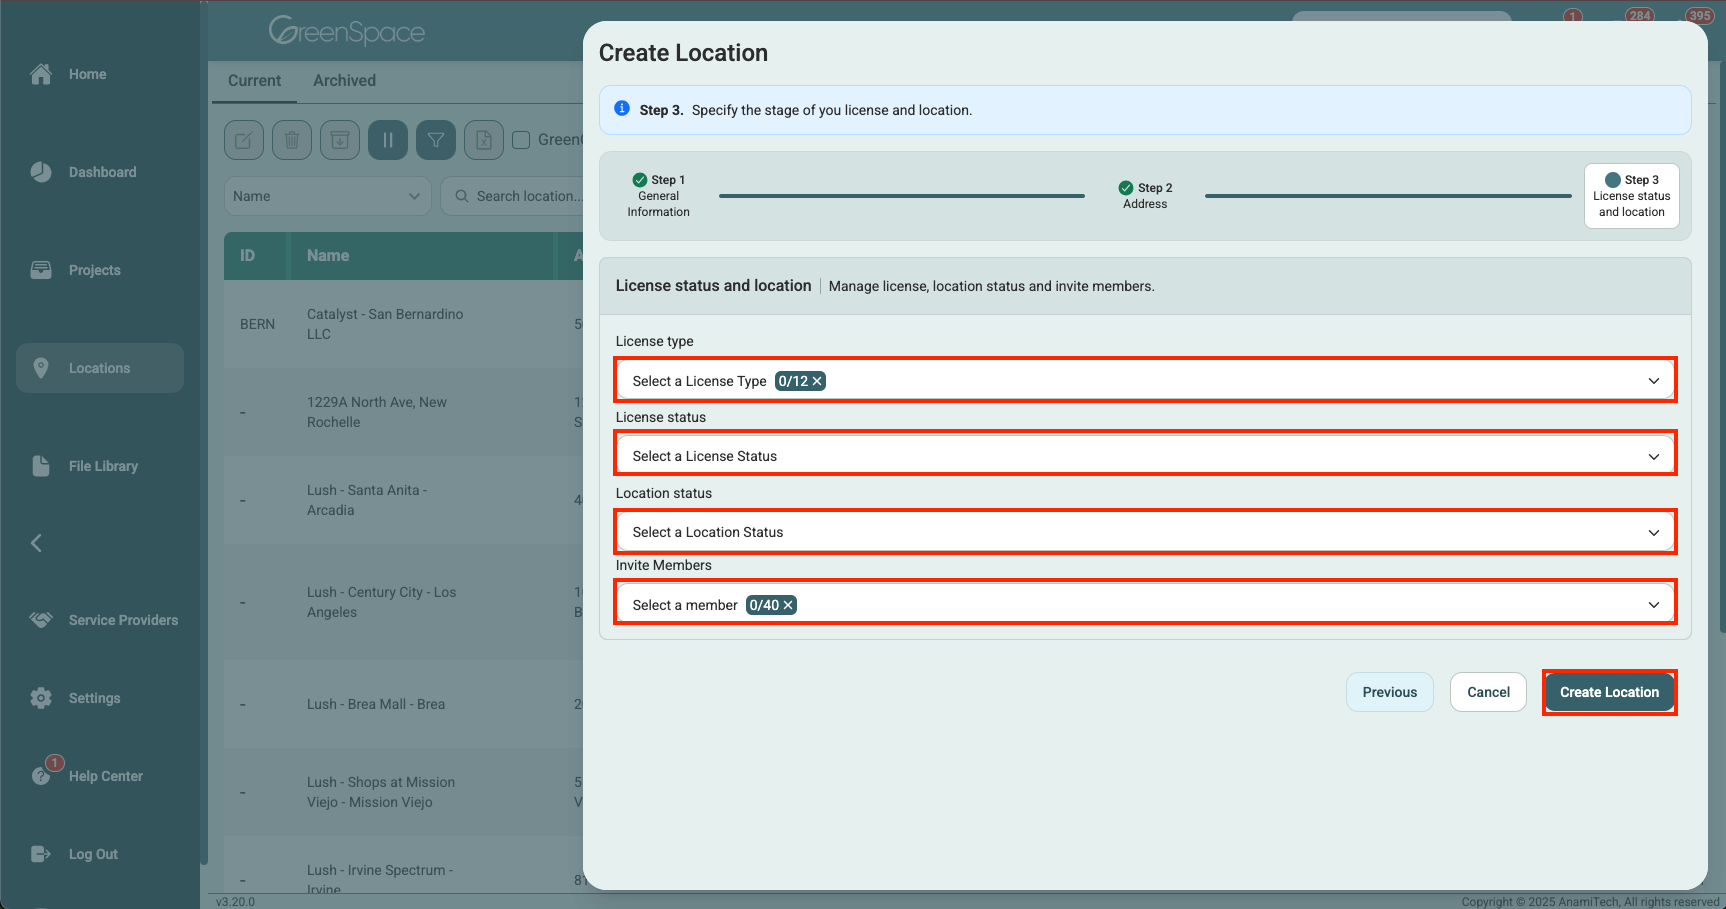
In the final step you can manage the location's license details, location's status, and invite members. Click "Creation Location" to finalize.
Editing Your New Location
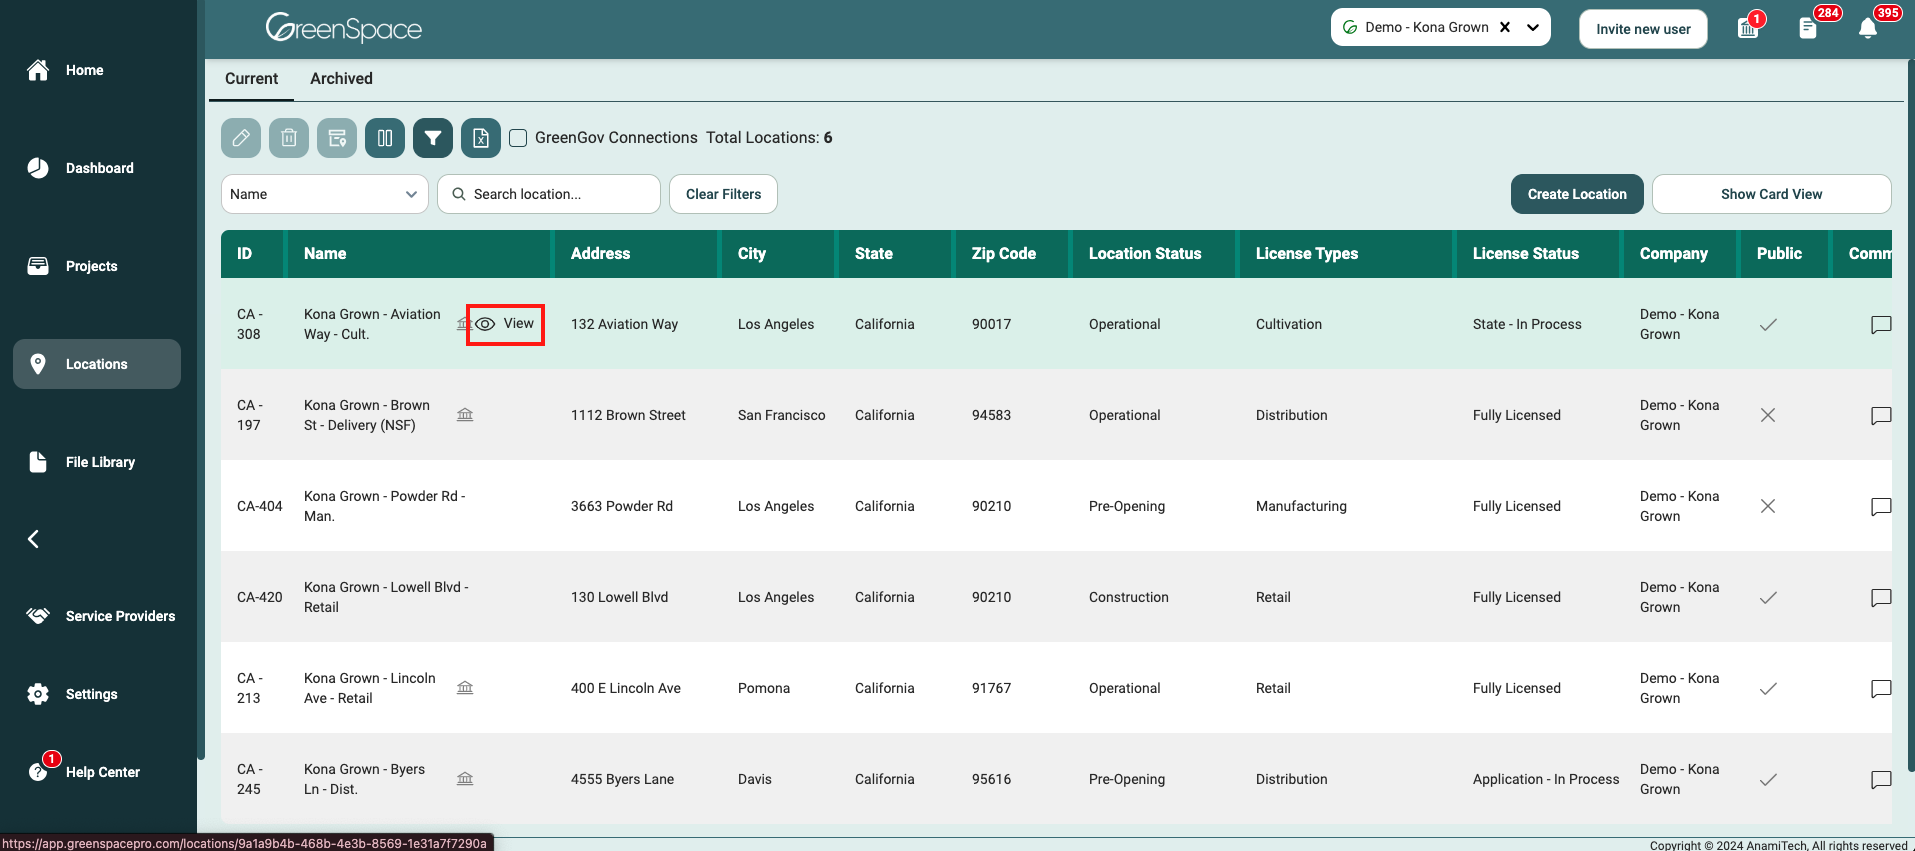
Hover over the newly created location in the list view and click the eye icon labelled "View" that appears.
From there, you can complete the information fields associated with your new location, including any relevant details about the location, its address, contact information, and other specifics. For a step-by-step guide on adding, editing, and deleting sections and fields in a Location, check out the How to Customize Location Sections and Fields article.

That's it! You've successfully created a new location within your company using GreenSpace. If you have any questions or need further assistance, our support team is ready to help. Happy business management!