
How to Export a Project to an Excel File
Accessing Projects
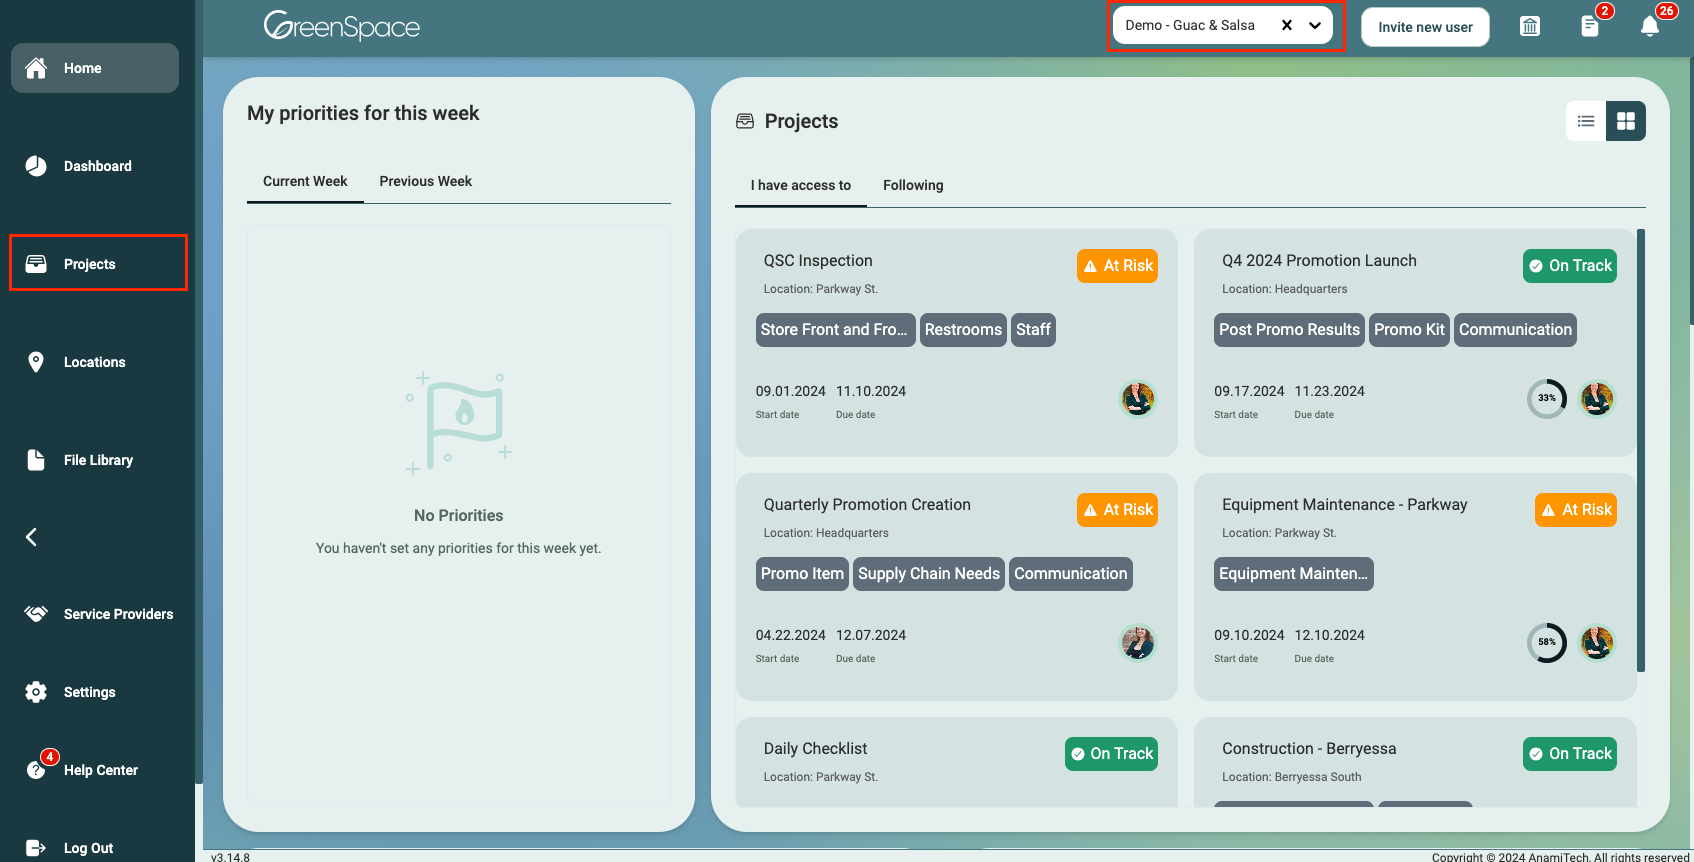
Choose the relevant company where the project is located from the drop-down menu located in the bar at the top of the screen. Navigate to the left side of the screen and click on "Projects" to reach the Project Overview page.
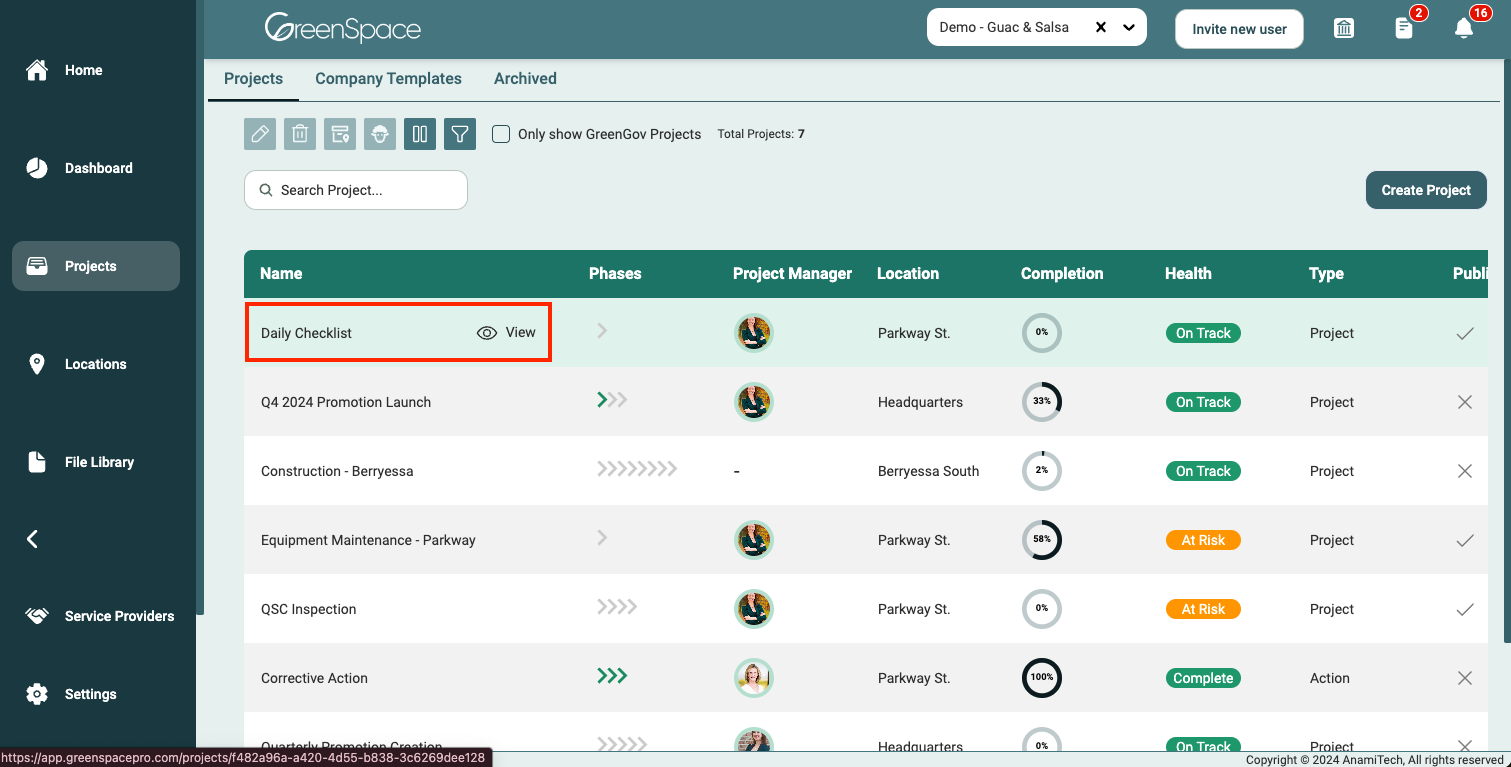
Hover over the project to which you want to grant access to the user and click the "view" eye icon to open the project.
Export Project to an Excel File
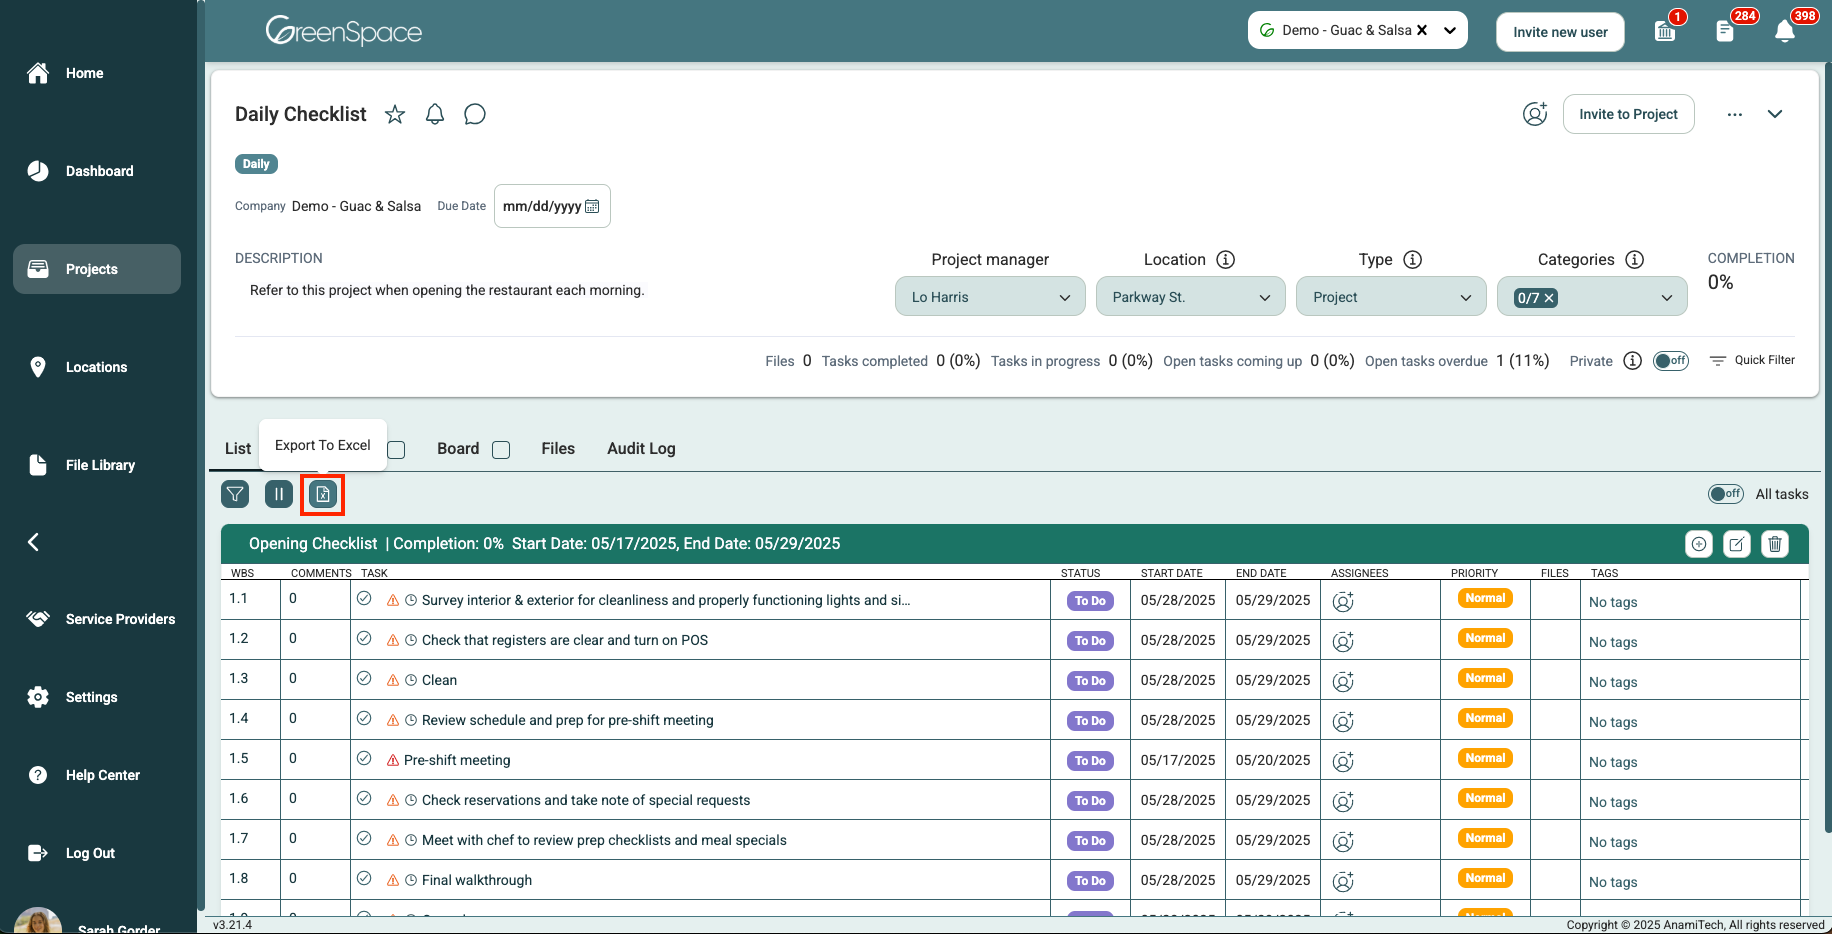
Click the icon in the center of the screen that looks like a piece of paper with an "X" in the middle.
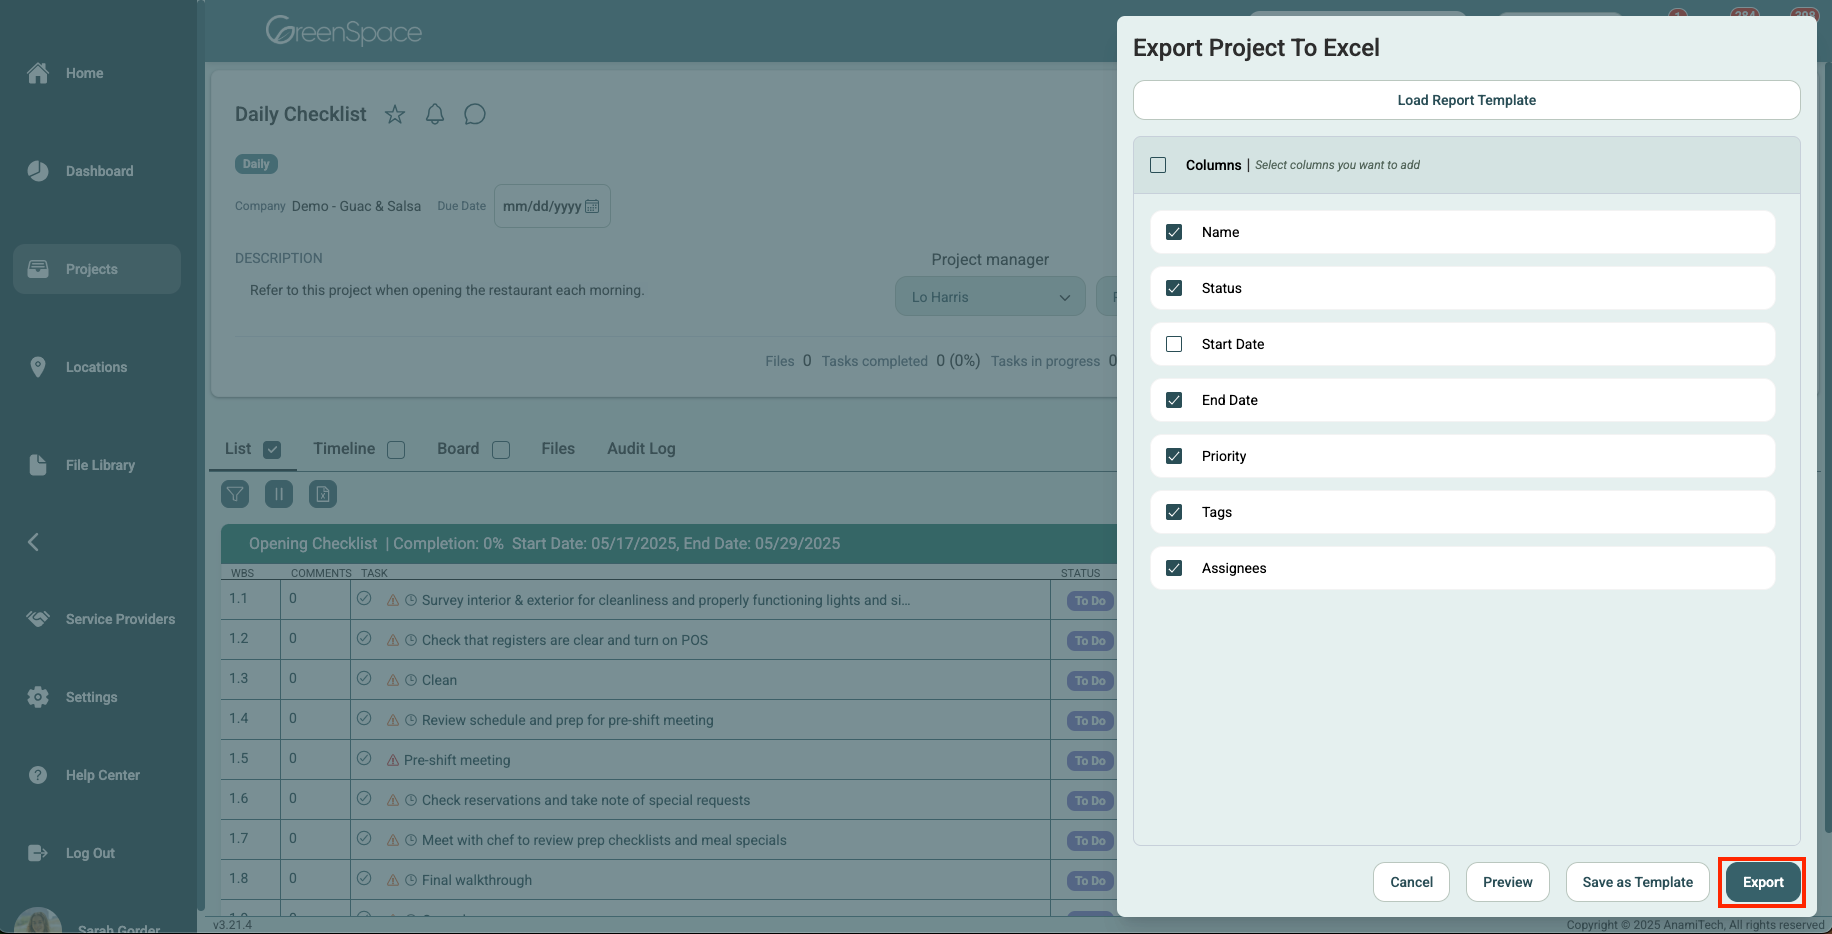
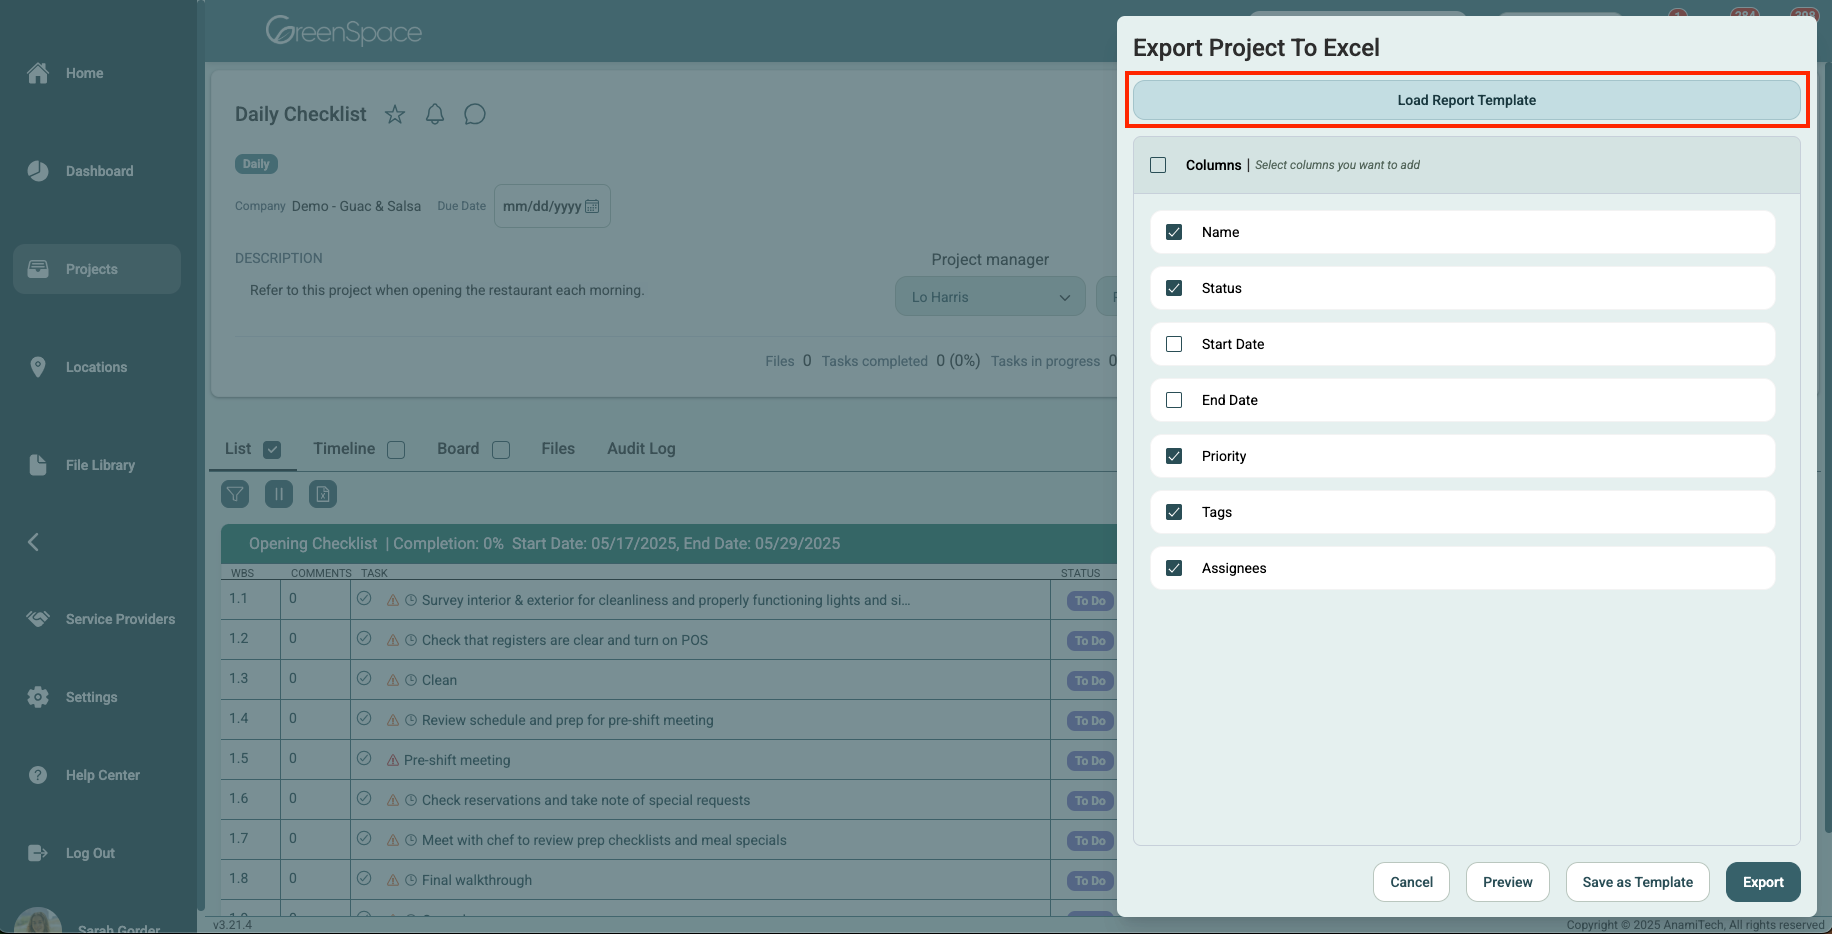
A pop-up window on the right of the screen will appear. Uncheck any columns you would not like to be included in the file.
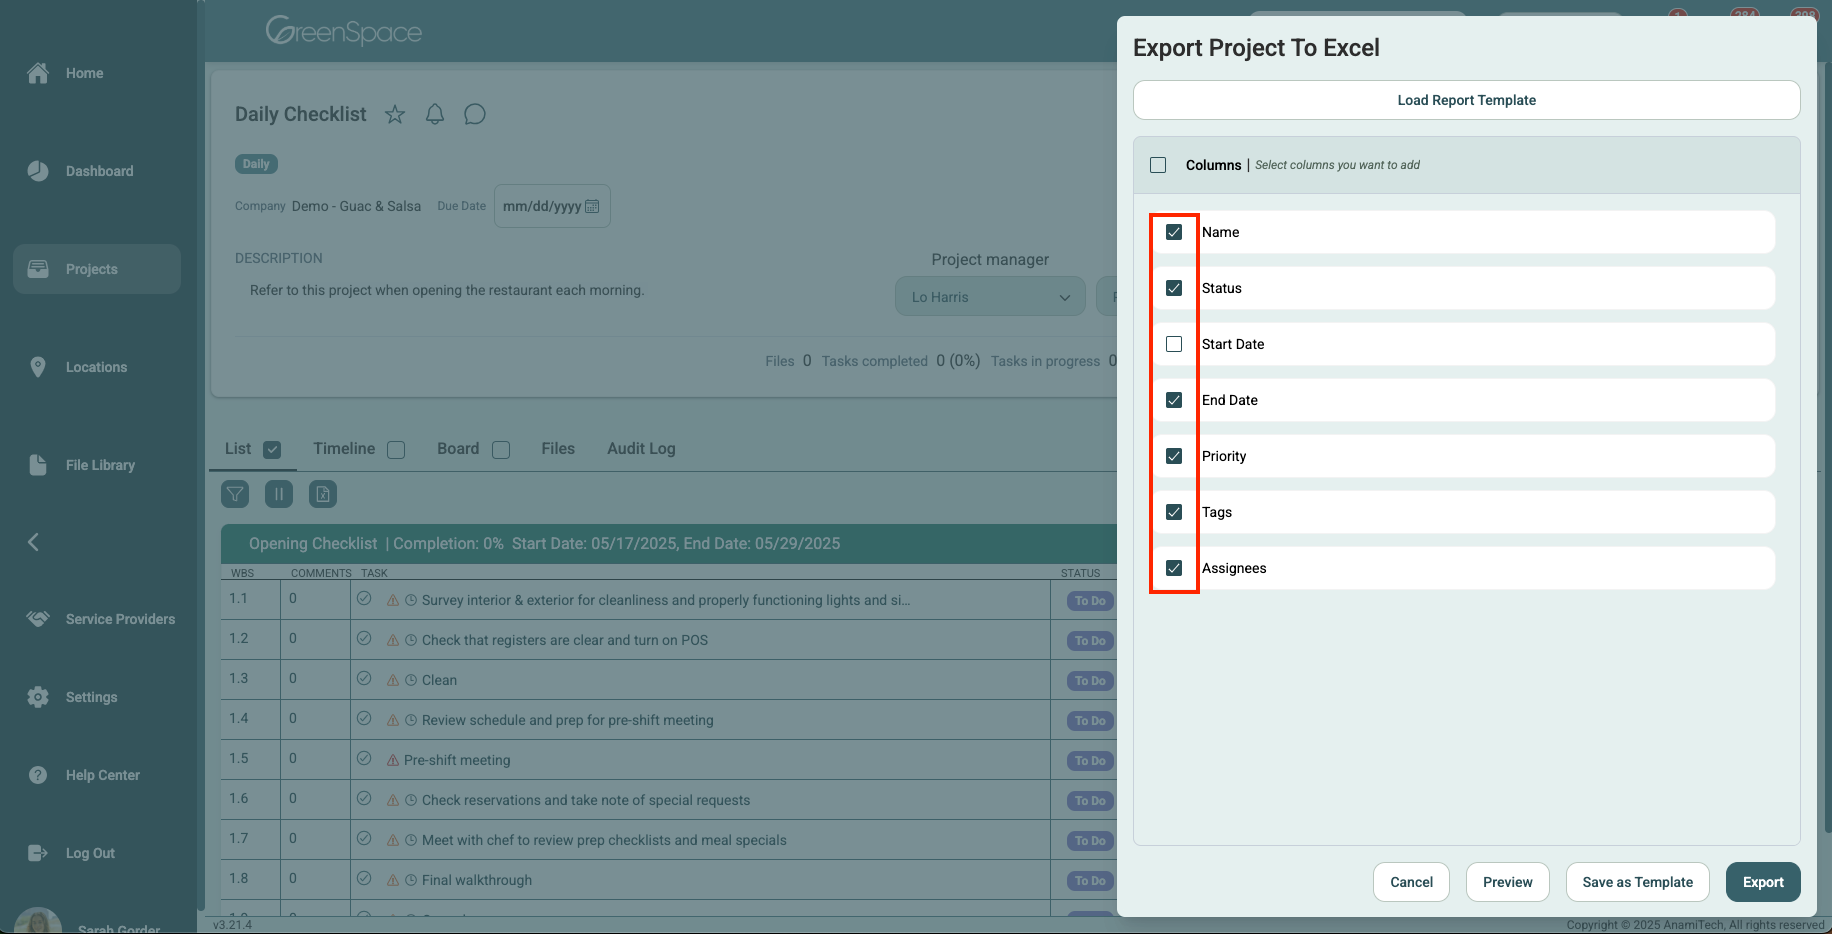
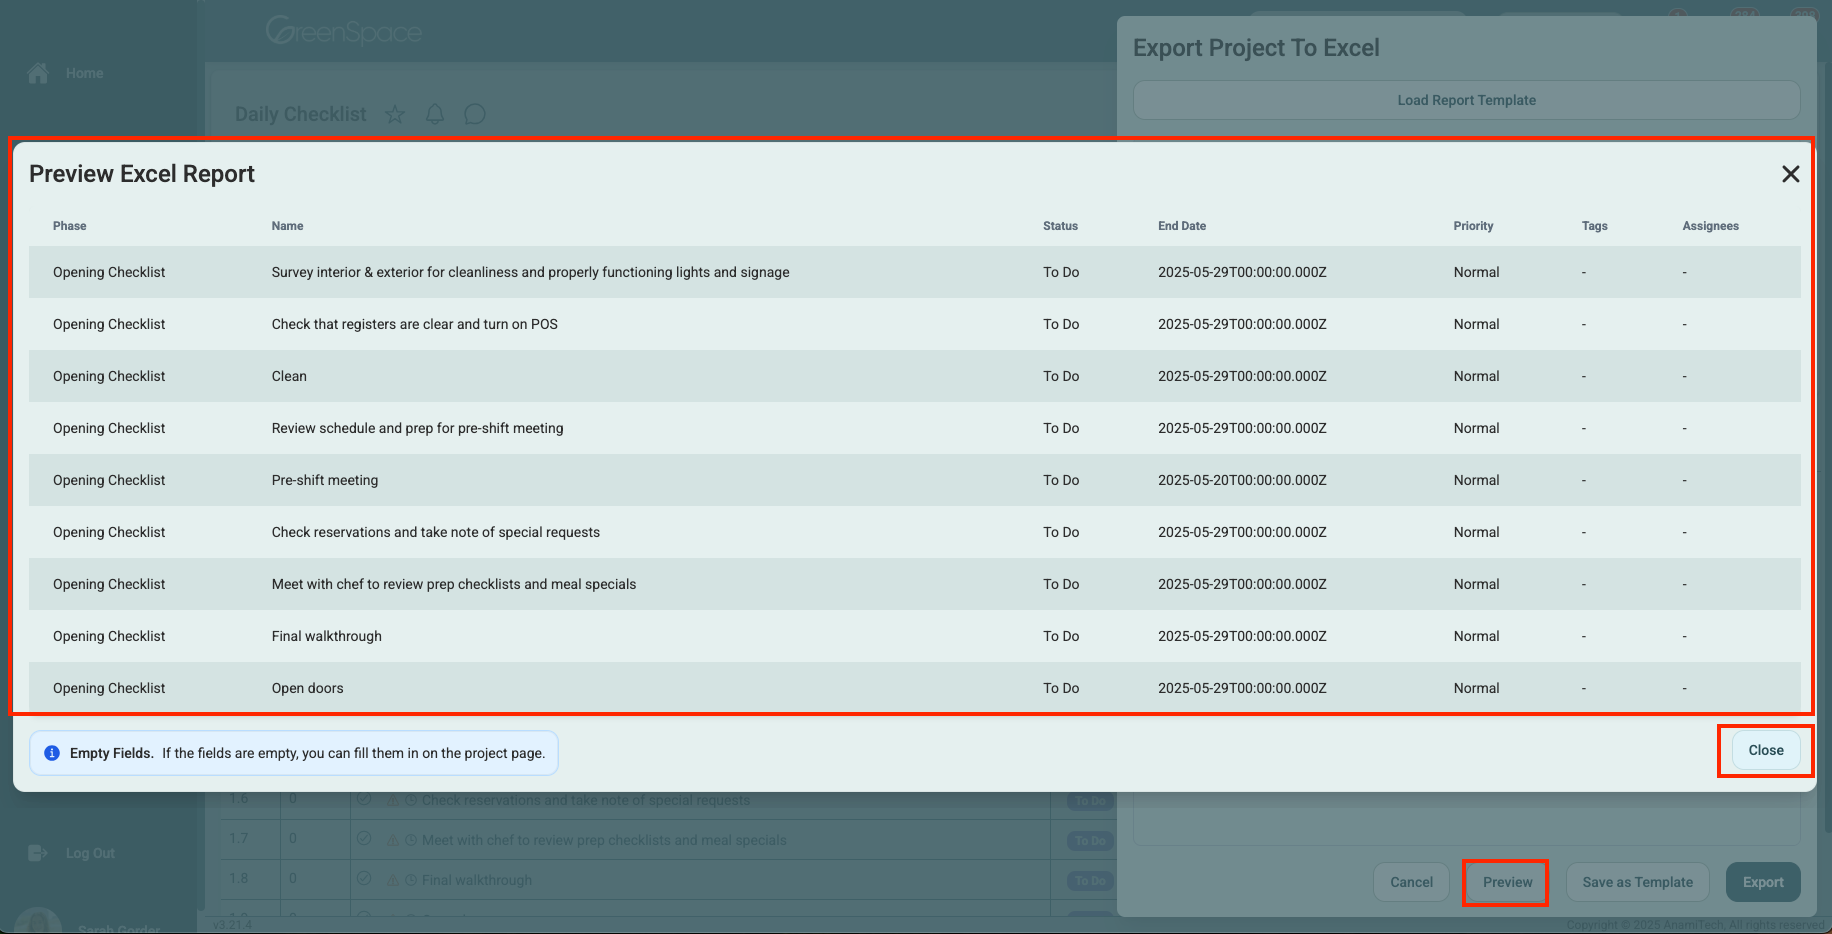
Click "preview" to review the file before exporting to make sure everything appears as expected. Click "Close" when you are done.
Click "Export" to save the Excel file to your device’s default download folder. The file will be named after the project.
Save a Report Template
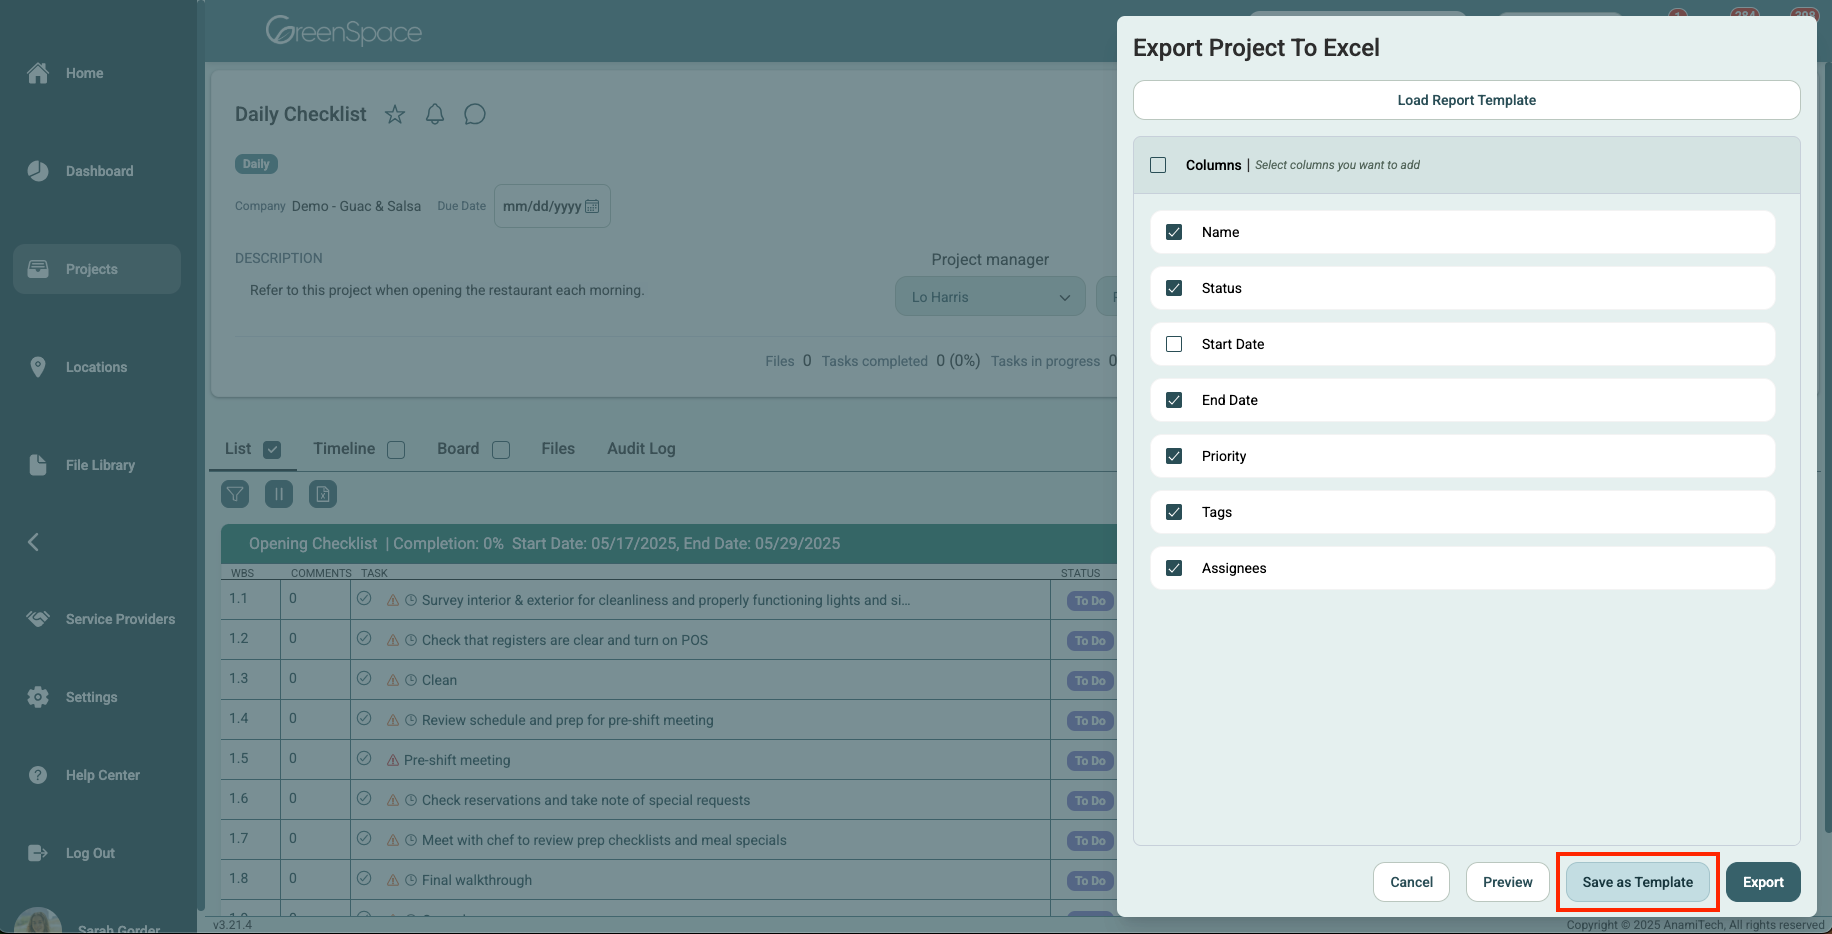
You can save report templates for easy reuse in the future. After you have selected the proper columns, click "Save as Template".
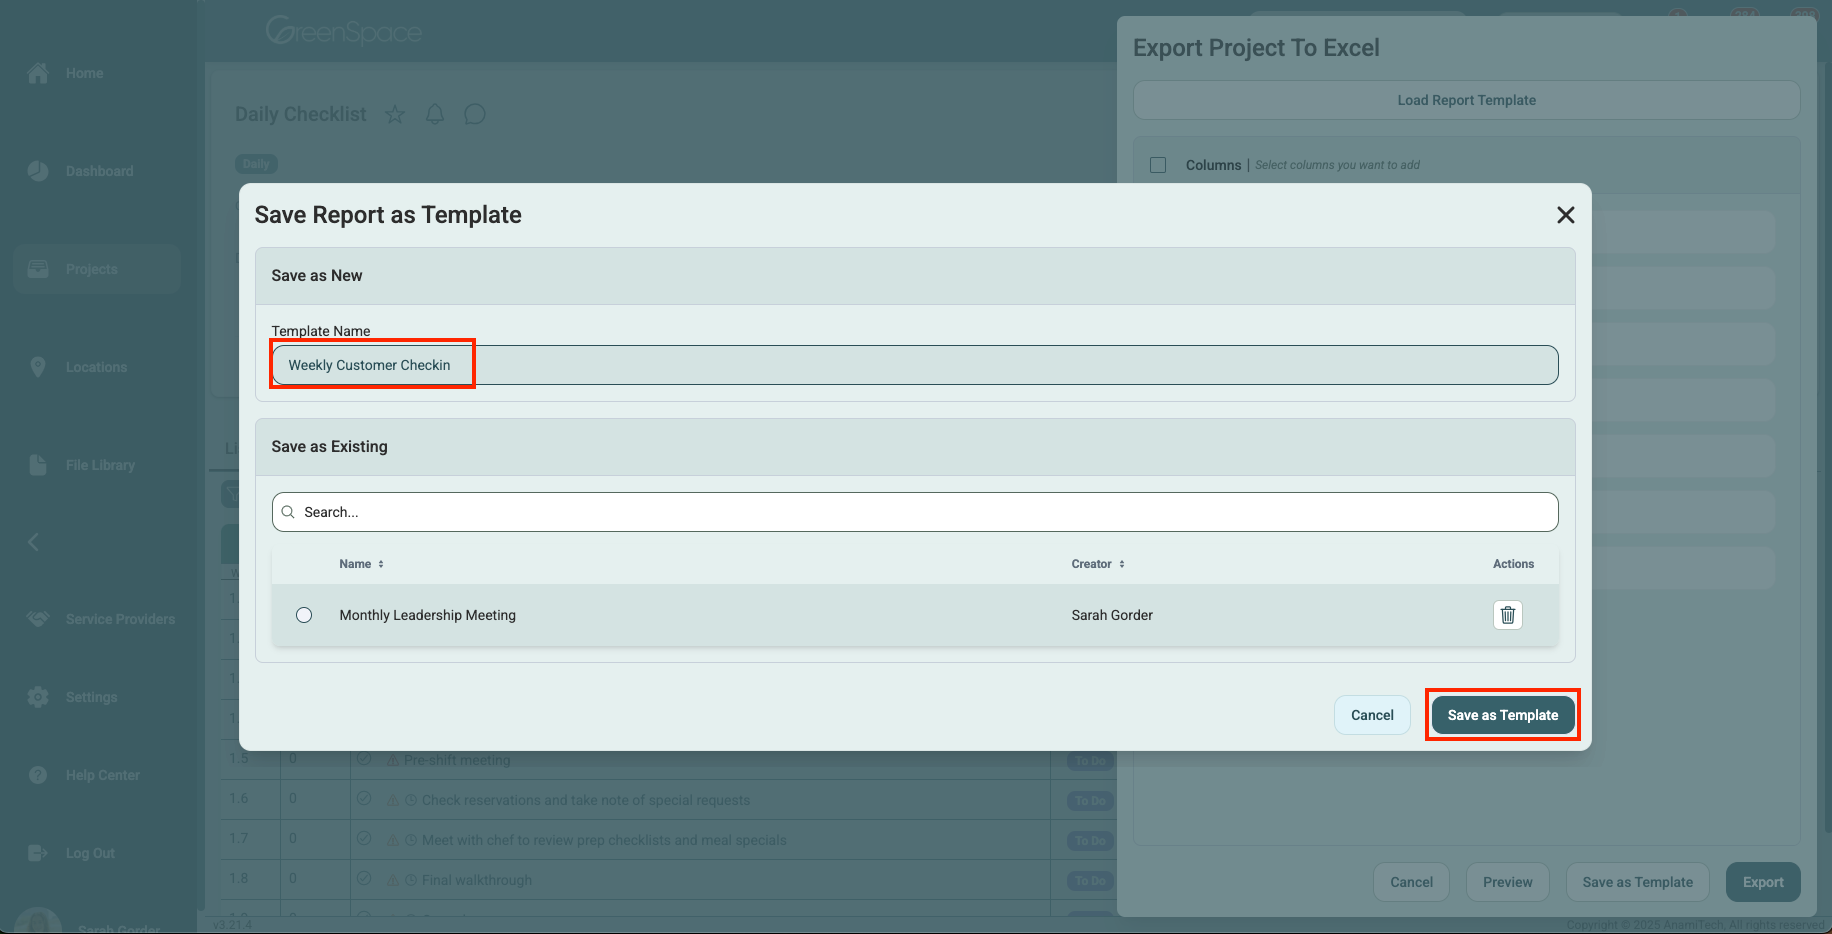
Name your template and click "Save as Template".
Load a Report Template
Click "Load Report Template at the top of the Export Project To Excel pop-up window.
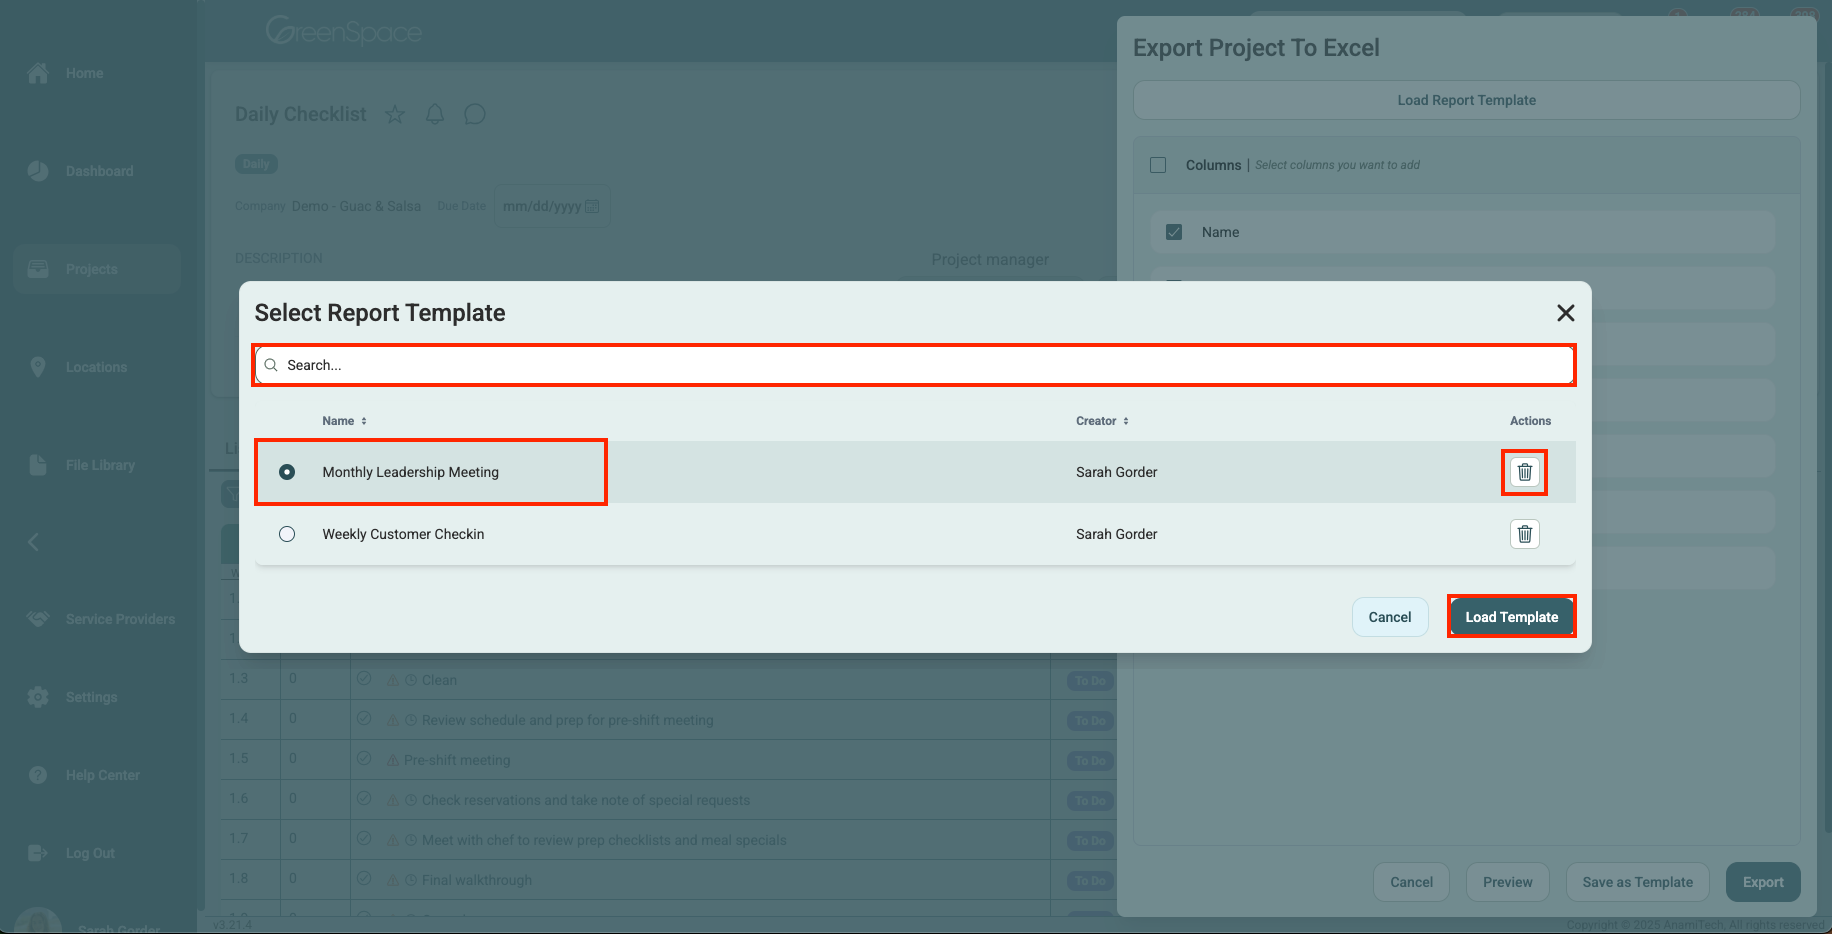
Click the template you would like to load. You can also utilize the search bar at the top. You can also take this opportunity to delete any templates you no longer need. Click "Load Template".
Congratulations! You've successfully exported a project in GreenSpace to an Excel file. Should you encounter any issues or need further assistance, our support team is here to help.
You're all set to dive into managing your projects effectively on GreenSpace. Happy collaborating!