
How to Create a Project
Only Manager and Admin roles can create projects. If you have a Member role, please contact a manager or admin for assistance in creating a new project.
Creating a New Project
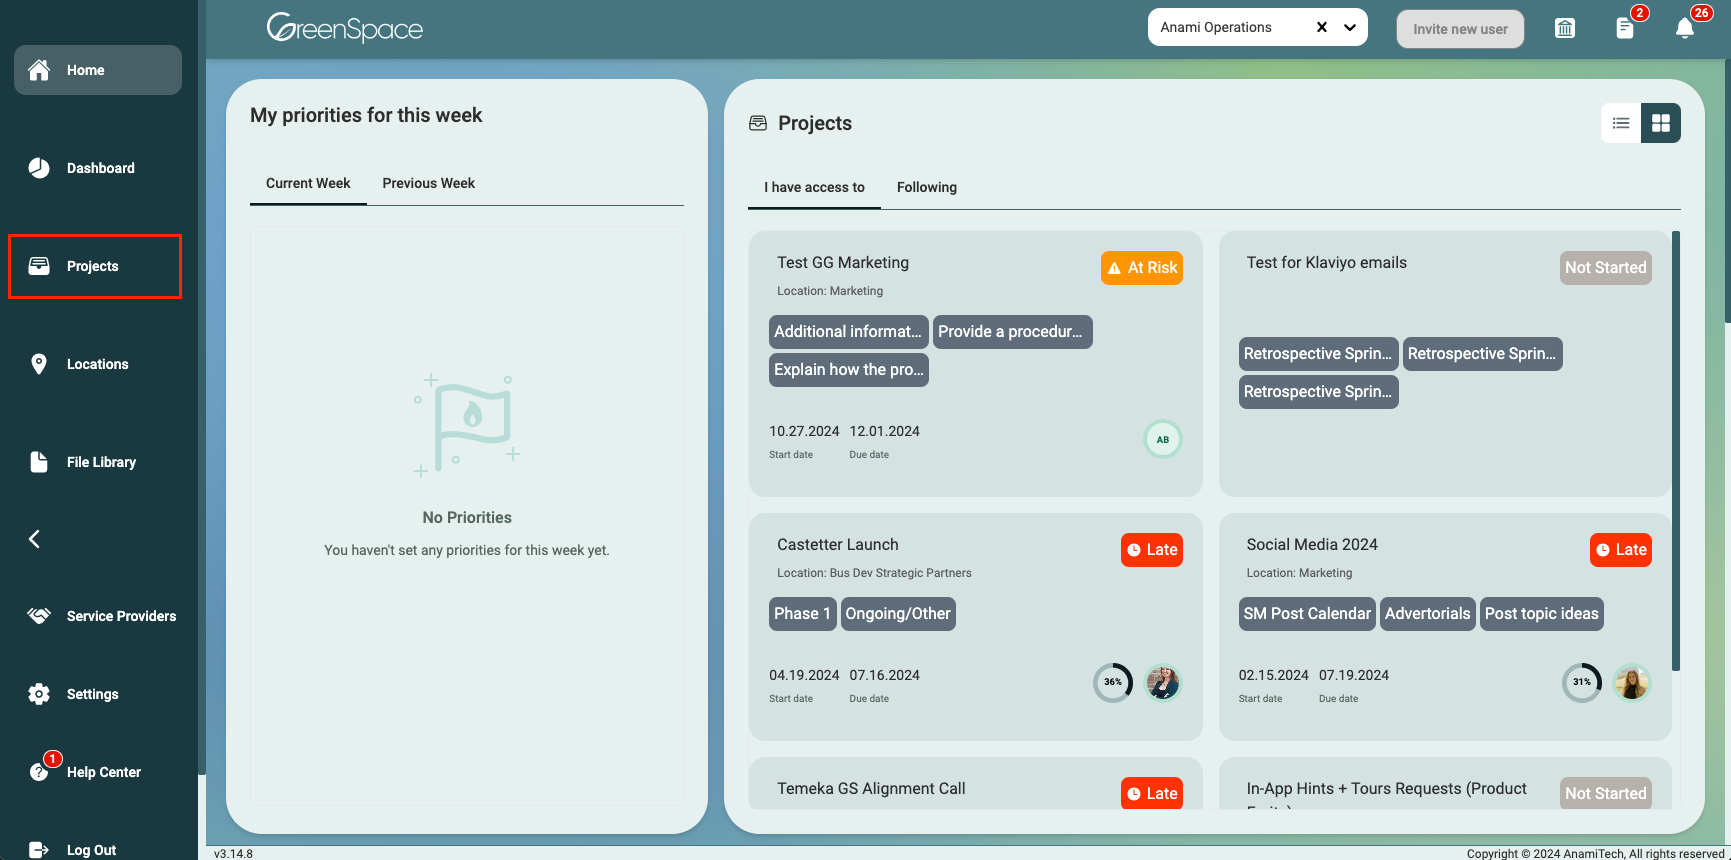
Click on "Projects" in the main menu on the left side of your screen.
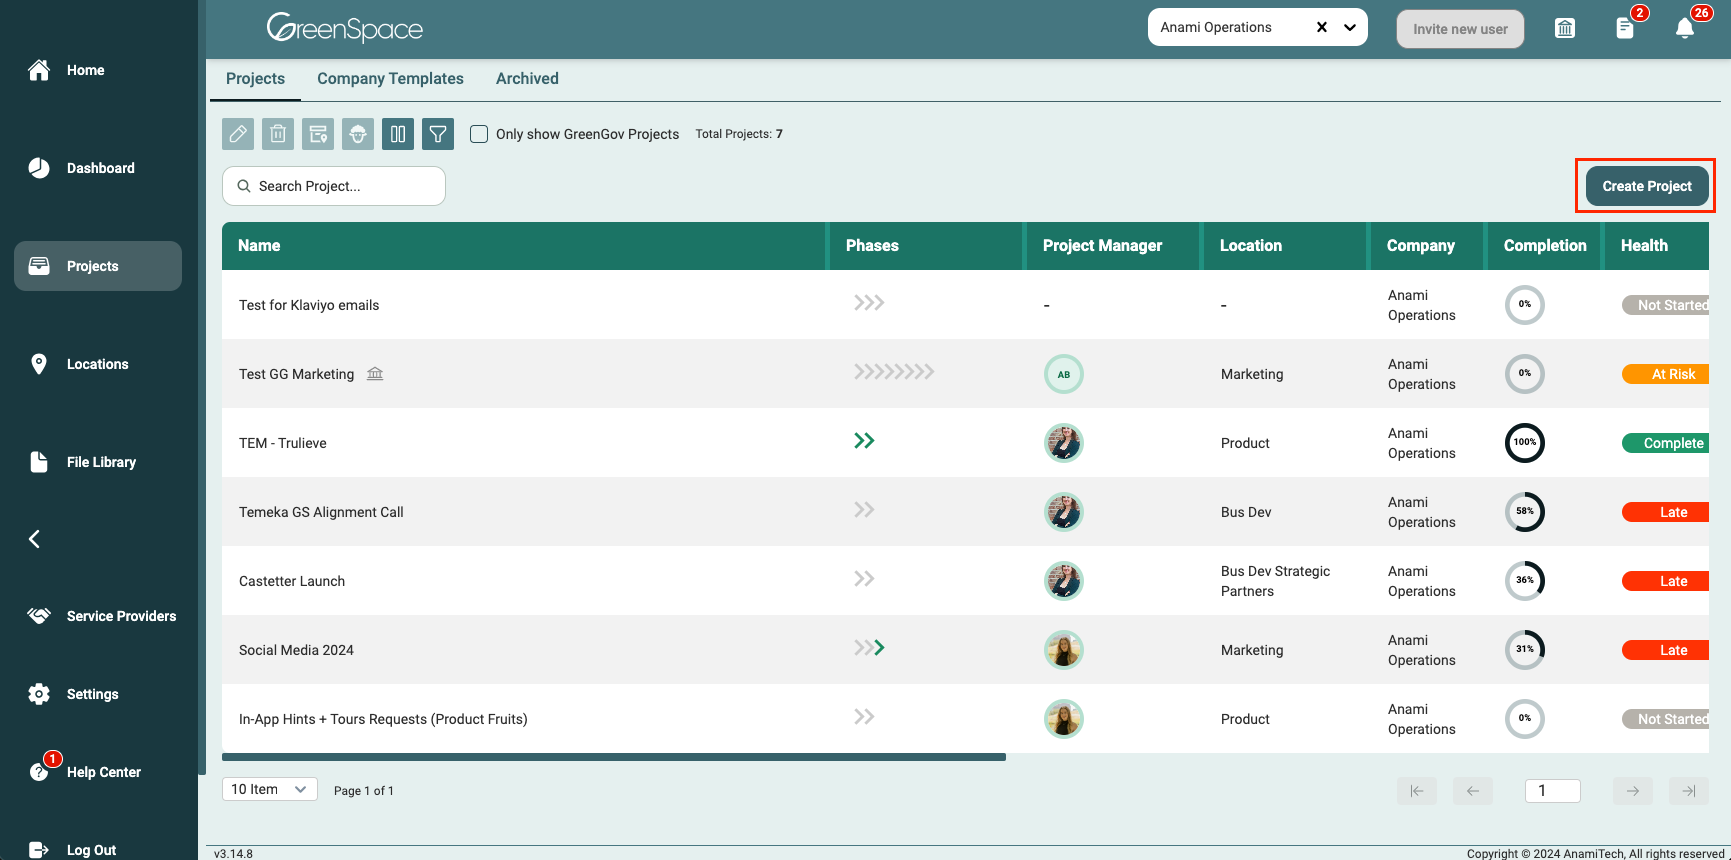
Click "Create Project" located in the top right-hand corner of your screen.
Step 1: Select Company + Locations
Choose the company or companies for which you want to create this project. If applicable, select the locations you'd like to assign it to. You can search for a specific location or assign by license type. Click "Next" once you are ready to proceed.

Step 2: Create Blank Project or Choose Template
Choose to create a blank project from scratch or if you wish to use a predefined template, explore our extensive library. You can filter templates using the search bar or the scrollable list view. If you've created your own templates, find them under "Company Templates" in the scrollable list view. Once you have selected which option, click "Next" to continue.

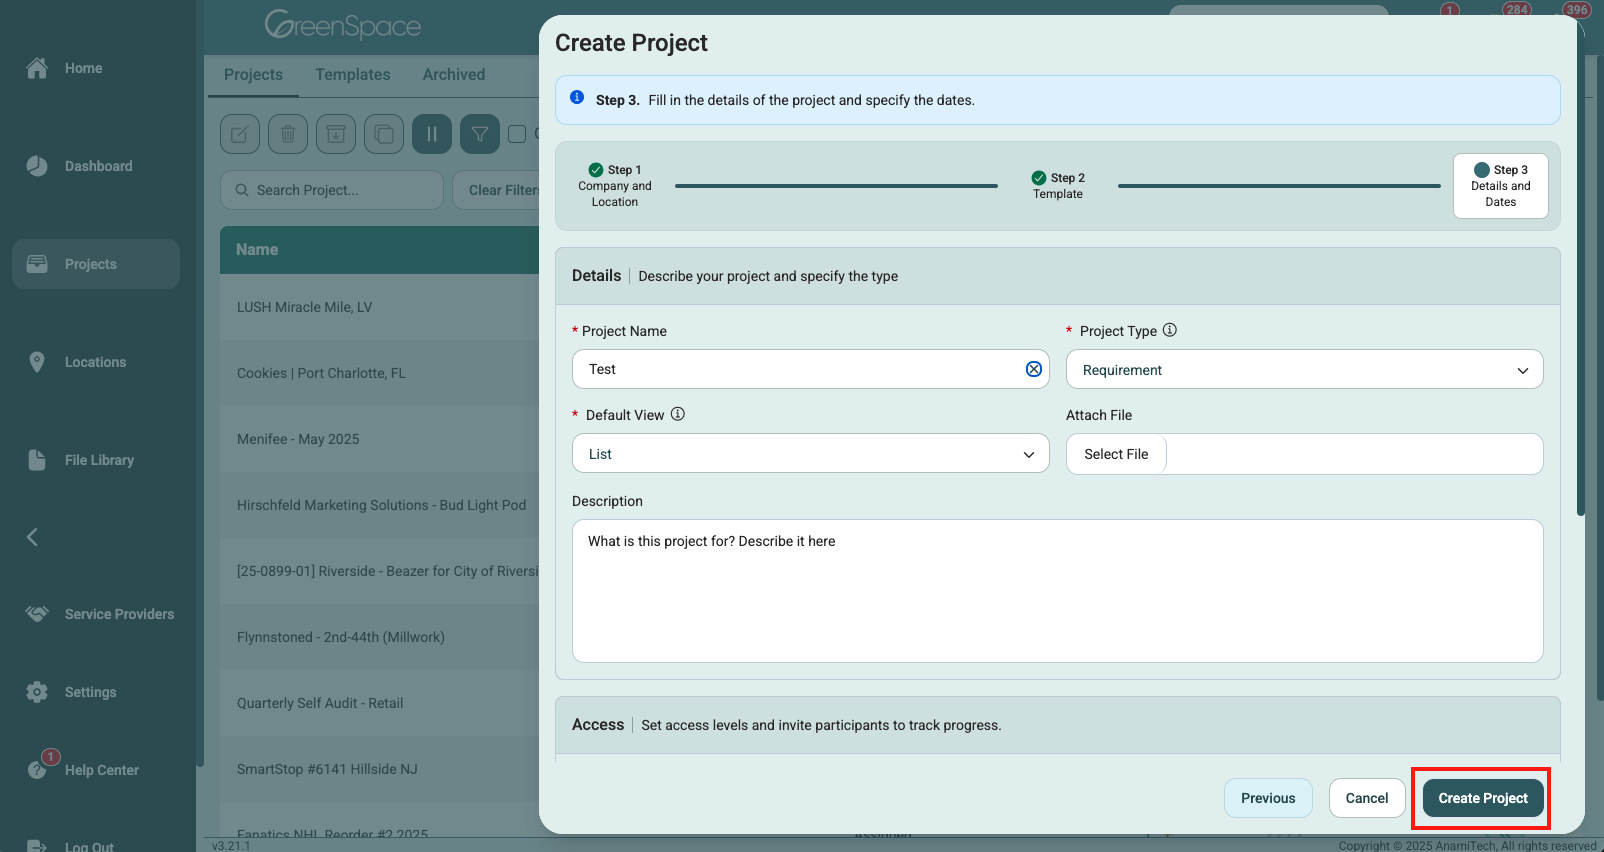
Step 3: Project Details
- Project Name: Give your project a relevant name to make it easily recognizable for your team.
- Project Type: Choose from project, inspection, requirement, action, assignment, and submission.
- Default View: Select the default view for your project. You can choose from a list (default), a timeline/gantt chart, or a board/bucket view.
- Attach File: Add a single file to associate with the project.
- Description: Give a summary of what to expect in this project and the purpose.
- Access: Set the privacy of the project to either "Public" to allow your entire company to access it or "Private" to restrict access to invited individuals.
- Invite Members: Add members to this project now or you can add them at a later date within the project.
- Assign Project Manager: Choose a user to be responsible for this project, ensuring the tasks get done on time.
- Dates: If applicable, set due date, start date, and end date for your project. If you select the "no date" option, all tasks will have an empty date field by default. You can then enter these dates later when you work on your project. If you want to use today"s date for the project, select the start date option.

Project Preview: Ensure project settings meet your needs before proceeding. Remember, you can always modify these settings later during the project. Click "Create Project" when you are done.

If you need to make any adjustments to any previous steps of this process, you can always select the "Previous" button to go back and modify your selections.
Once you've filled in all the necessary details, click the "Create Project" button to initiate your new project.
Congratulations! You've successfully created a new project in GreenSpace. Now you can start managing your project efficiently and collaborate with your team effectively. If you have any questions or need further assistance, don't hesitate to reach out to our support team. Happy project management!